how to design a dress with AI — from first prompt to finished garment
a sketchbook that draws faster than you can.
The short answer
You can go from a blank text box to a real dress hanging in your wardrobe. What makes that possible isn’t a better generator — it’s describing a garment instead of a mood, and a skilled human checking feasibility before a single thread is cut.
We’ve covered whether AI designs can become real clothes (yes, with checks) and which generators are built for real apparel. This is the hands-on version: how you actually do it, step by step, in the studio.
Open the studio →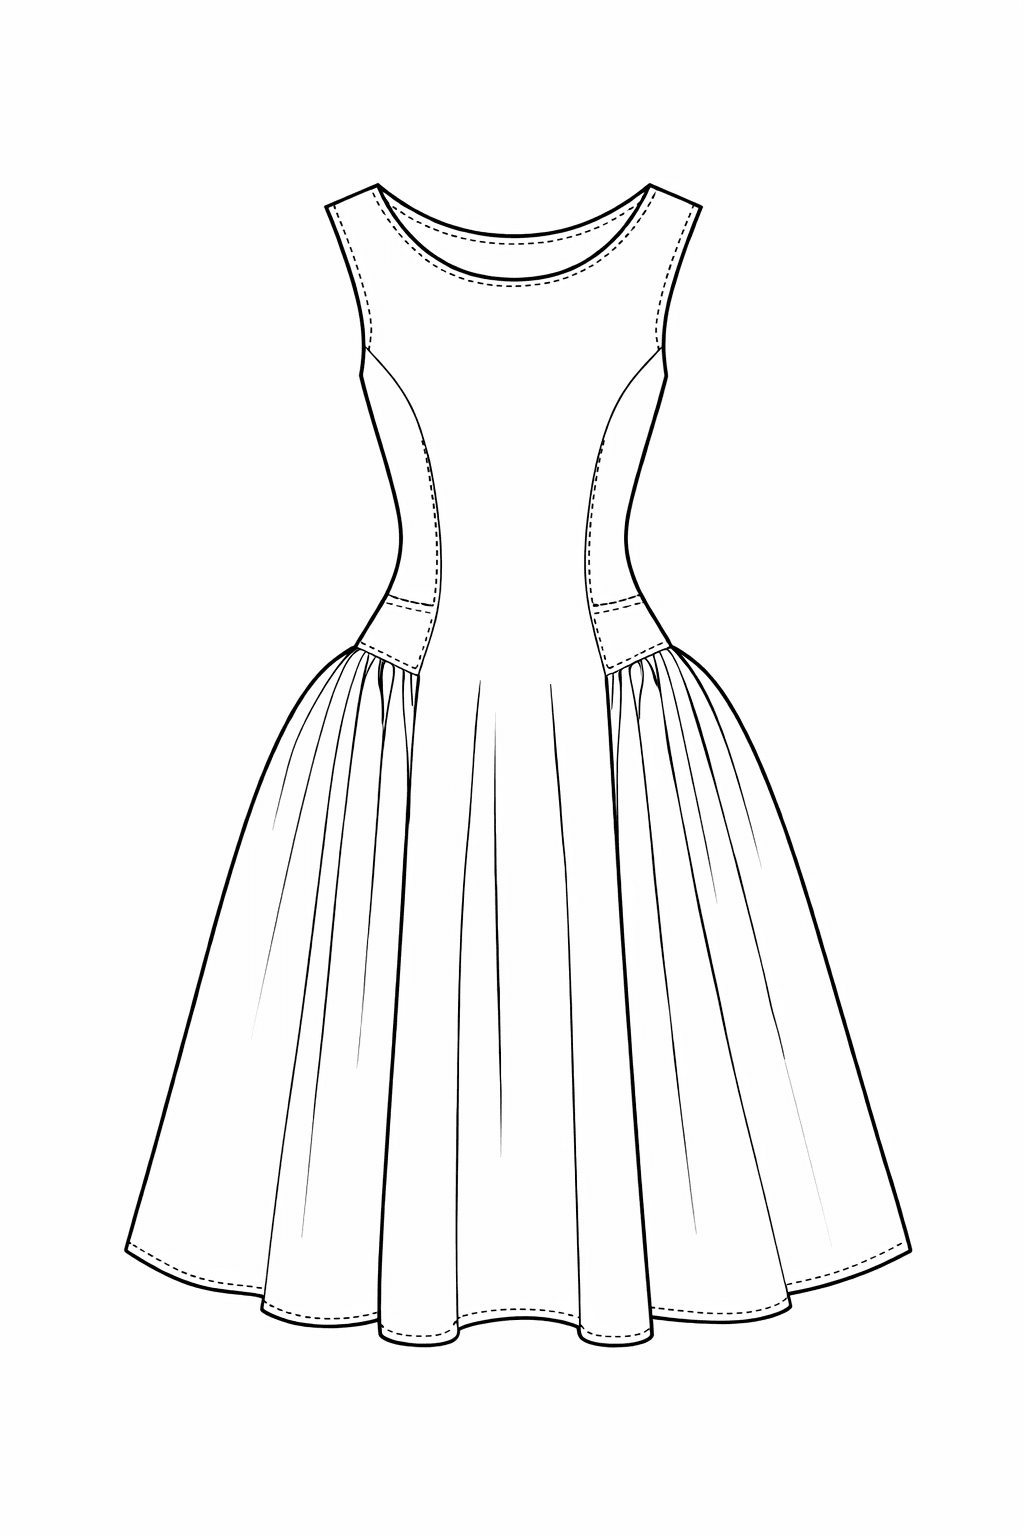
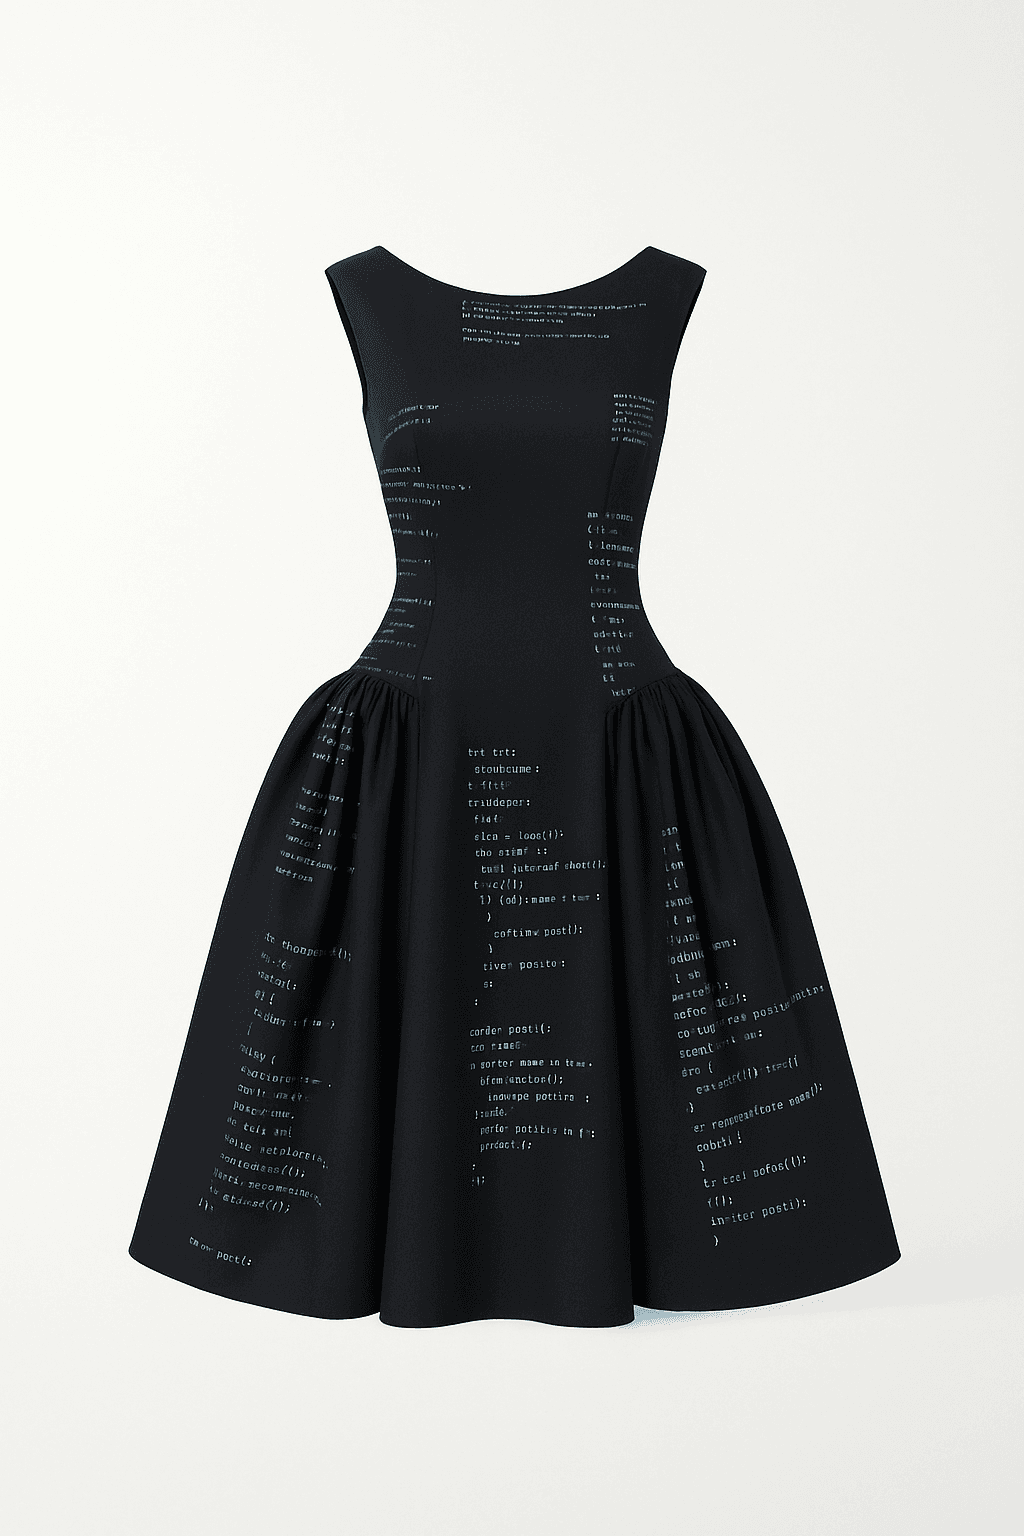
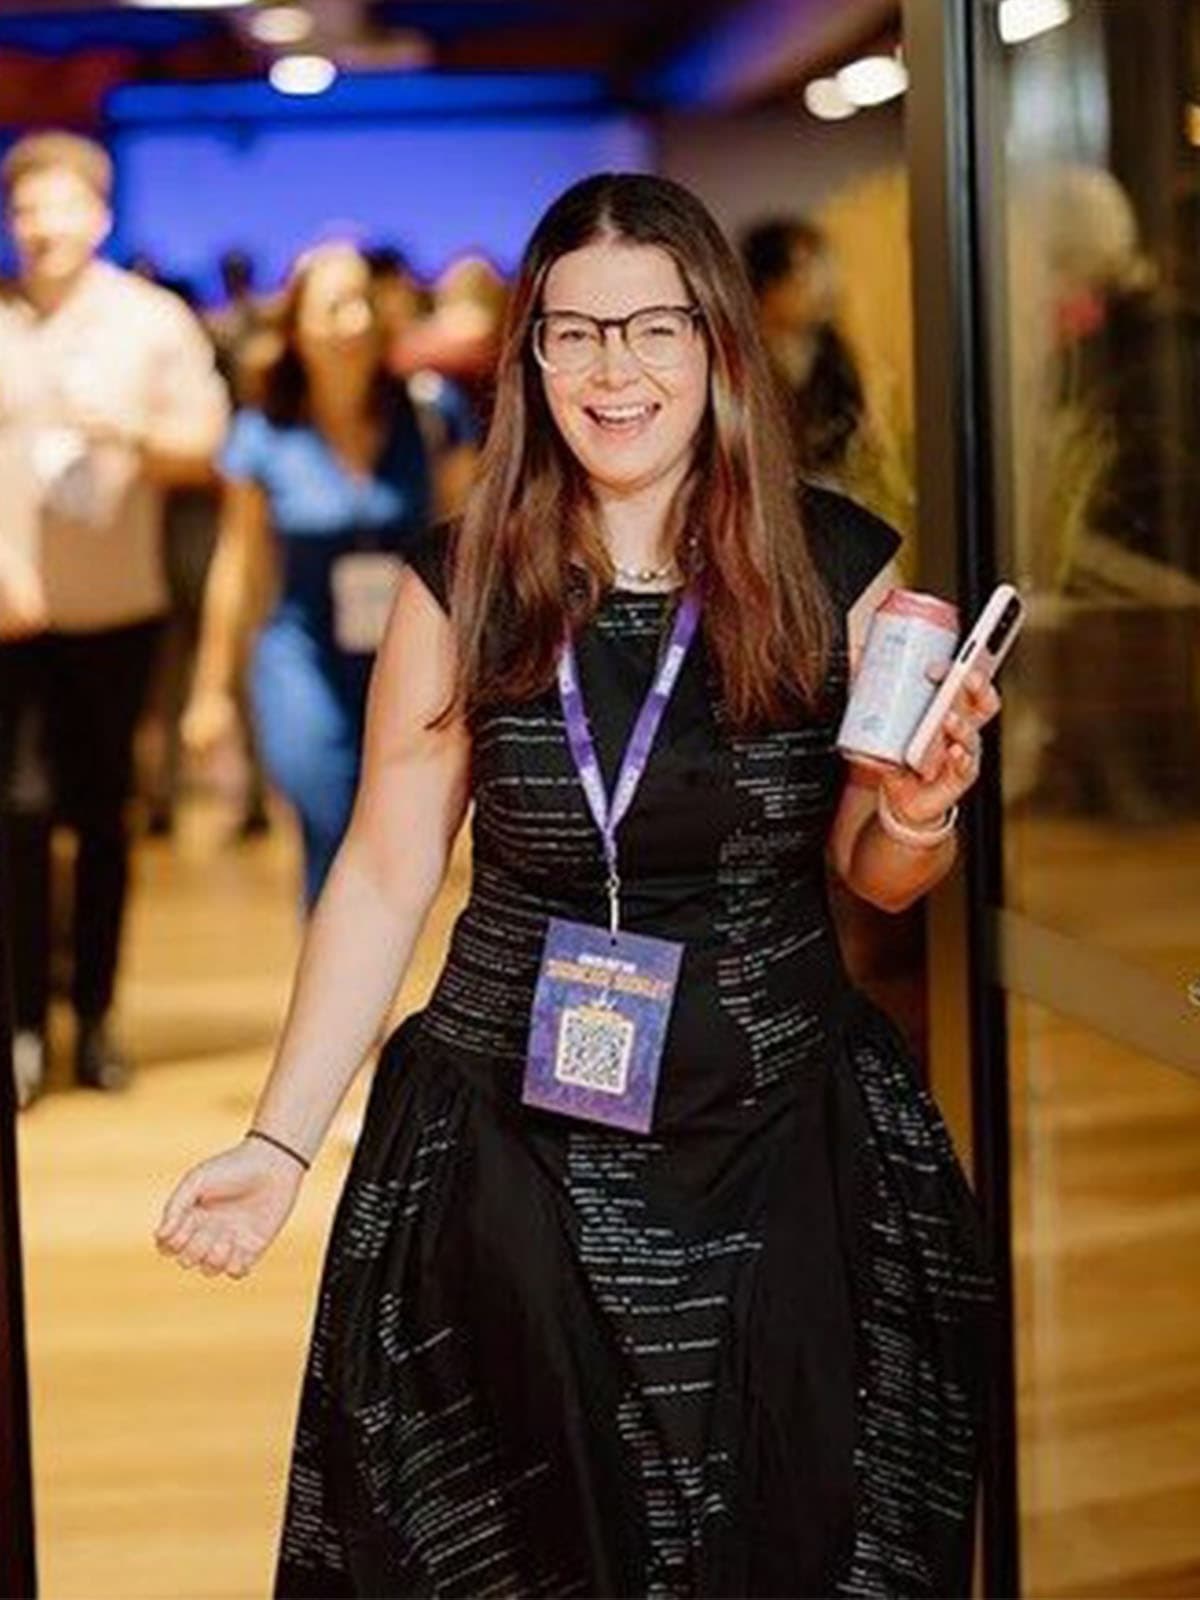
Know what “makeable” means.
The single biggest difference between an AI image you’ll love for five minutes and a dress you’ll wear for years is whether the design obeys the physics of fabric and the logic of construction. An image generator will happily render a bodice with no closure, straps that attach to nothing, and a “fabric” that’s really just lighting. A tailor can’t sew lighting.
So before writing anything, look at your idea through three questions:
How does the wearer get in and out?
Every fitted garment needs an opening — zip, buttons, lacing, stretch. If you can’t point to it, the design is incomplete.
What is the fabric, in real-world terms?
Not “shimmering liquid metal” — silk charmeuse, crepe, duchess satin, linen, jersey. Real fabrics have names, weights and behaviours.
What’s holding the shape up?
Structure comes from somewhere: boning, interfacing, darts, bias cut, gathering. Shapes that float need engineering.
Keep these in mind and your prompts improve immediately — because you’ll be describing a garment, not a mood.
Start with a starting point, not a blank box
The MadeApt studio doesn’t open on an empty prompt field. It opens on four ways in, and which one you pick shapes everything after it:
“Design with the consultant”
Opens the chat with starter prompts — “Pick a starting point. Tap one to kick off the chat, or describe your own piece below.” The input reads “I’d like to create…”.
“Upload an inspiration image”
A photo, screenshot or saved reference becomes the anchor, and you describe what to change about it from there.
“Start from your own fabric”
A photo of cloth you already own becomes the starting constraint, instead of the design coming first and the fabric being hunted afterwards.
“Message a tailor directly”
No generation at all. If you already know what you want, this skips the AI entirely and puts a maker in front of you.
References anchor the generation and keep it in your lane instead of defaulting to the same editorial gown it shows everyone — so if you have an image, upload it. Good references are specific: this neckline, this sleeve, the way this skirt moves. A whole Pinterest board of vaguely pretty dresses will average out into vagueness.
If you’d rather collect references before designing at all, the moodboard is a separate canvas for exactly that — pin fabrics, colours, uploads and sketches, then hit “Create Design” to generate straight from the board. The full build canvas is desktop-only.
Write a prompt that describes a garment
Here’s the difference in practice.
A pretty picture
ethereal flowing goddess gown, dreamy, editorial, stunning
A makeable design
midi dress in sage green silk crepe, bias-cut skirt, cowl neckline, thin adjustable straps, side invisible zip, unlined, soft drape
The second prompt names the garment type, the length, a real fabric, the construction of the neckline, how the wearer gets into it, and how it should hang. Every one of those words is an instruction a pattern-maker can act on later.
garment type + length + fabric (real, named) + one or two construction details + closure + one mood word maximum
Some fabric vocabulary to borrow, because fabric is where prompts most often go vague:
| If you want it | Name one of these |
|---|---|
| Floaty and soft | silk crepe, chiffon, viscose, cotton voile |
| Smooth with body | crepe de chine, satin-back crepe, heavier viscose |
| Structured and sculptural | duchess satin, mikado, cotton drill, taffeta |
| Fitted and forgiving | ponte, jersey, anything “with stretch” |
| Crisp and casual | linen, poplin, cotton twill |
If you don’t know fabric names yet, describe behaviour — “holds its shape,” “flows when I walk,” “matte, not shiny” — and refine from what comes back. The studio also has a real fabric library you can shortlist from, and if the cloth is already in your cupboard, you can supply your own fabric.
Iterate one variable at a time
Your first generations will be 70% right. The mistake almost everyone makes next is rewriting the whole prompt — which throws away the 70% along with the 30%.
Under each finished render there’s a Tweak it chip that keeps the design and changes only what you name — it even suggests the shape of the request: “shorter”, “in emerald”, “with pockets”. Use it deliberately. Change the neckline. Then only the length. Then only the fabric. Each render now tells you something, and within a handful of rounds you can see exactly which words produce which results.
Generate the back
Renders default to the front, and the back is where closures, straps and half the design decisions live. Ask for it explicitly: “back view, invisible zip, low scooped back.”
Save everything that’s partially right
A discarded generation with a perfect sleeve is a reference for the next round, not a failure.
Change one thing per round
Keep the words identical and swap only the neckline. Then only the length. Then only the fabric. Each render now tells you something about the tool’s dialect.
Generation runs on studio credits, and the arithmetic is simple:
Deliberate one-variable iteration isn’t just better design practice — it’s also what keeps a session efficient instead of burning credits on rewrites.
Put it on your body, not the model’s
This is the step that changes the decision you’re making. Every render so far has shown the dress on a generated figure — a body chosen to make everything look good. The Try it on chip puts the design on a photo of you, and we’ve been blunt elsewhere about why most virtual try-ons are built to flatter rather than inform: a try-on that always says yes is a sales tool, not a design tool.
What you’re looking for here isn’t “do I look amazing” — it’s design information. Where does the hem actually land at your height? Does the neckline sit where you imagined? Does the proportion of bodice to skirt work on your torso, or does the waistline want to move?
These are exactly the adjustments made-to-measure exists to make, and seeing them now means they go into the design brief instead of surprising you later.
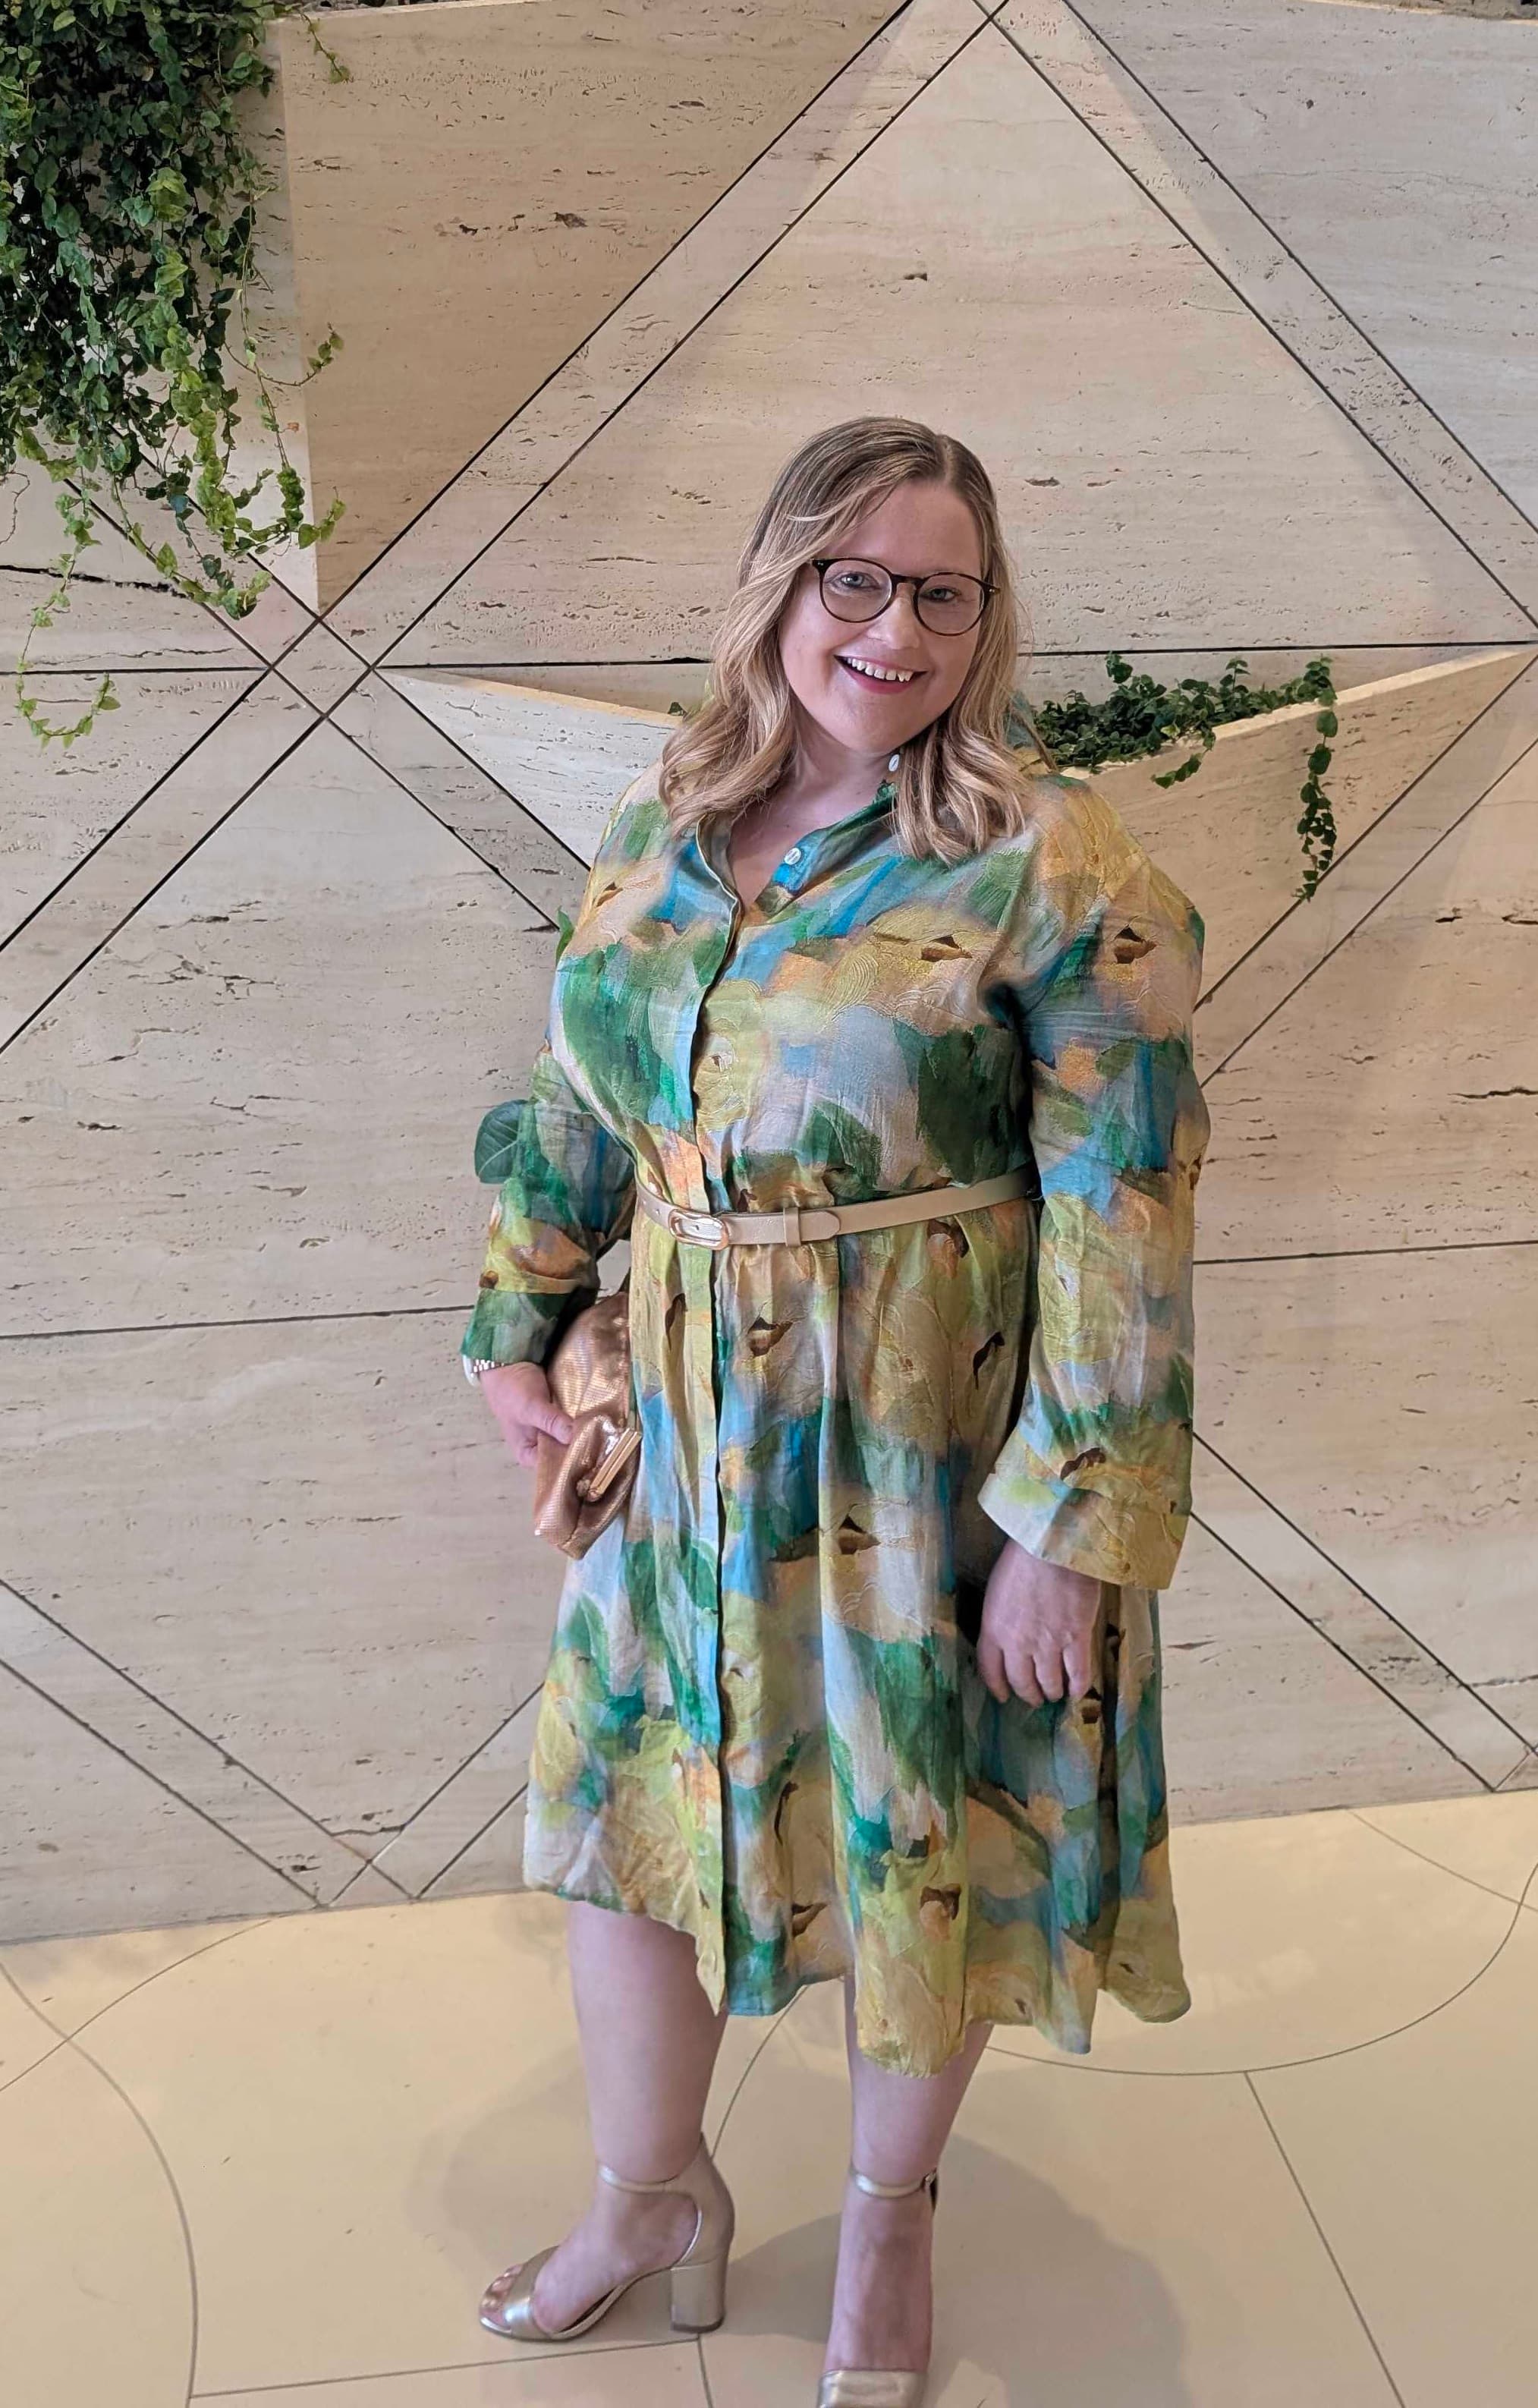
The real check try-on is approximating
The feasibility check: where a human enters
Here’s the honest section, and the one that separates this process from every generate-and-dream tool out there.
The primary button under a finished design reads Have it made — cut to your measurements. It opens the design as a product page, where Make this for me sends it — with your name, email and any notes — to a human inbox. No payment happens at that point. A maker looks at the design first, and their job is to find the gaps between the render and reality. The common ones:
Invisible engineering
The strapless bodice that stays up by rendering magic gets internal boning and a structured lining in real life — invisible in the image, essential on a body, and part of the cost.
Impossible seams
AI loves seamless surfaces. Real garments are made of flat pieces joined at seams, and a complex 3D shape needs them. The maker will tell you where they’ll go.
Fabric that doesn’t exist
That gradient-shifting iridescent surface may translate to a real cloth — or the honest answer may be “the closest real fabric is this, and here’s a photo of it.”
Gravity
Renders freeze fabric mid-float. A real bias-cut skirt moves beautifully but also clings and drops; the maker knows which parts of the render are the fabric and which are the pose.
The unrendered 50%
If you never generated the back, someone has to design it. Better a deliberate decision now than a default later.
The outcome is a design translated, honestly, into something a tailor can build. You see what changed from the render and why, and nothing proceeds without your sign-off. If a design genuinely can’t be made as imagined, you hear that before paying for making, not after unboxing.
Measurements, quote, and making
From here it’s the standard made-to-measure path. Your measurements are taken properly — the dress measurement guide walks each one — and the design is quoted on its real complexity. Structure, fabric and hand-work all move the price; our US pricing page covers the ranges.
Once you approve, making begins under the same G0–G5 evidence gates as every garment we produce: photo verification at each checkpoint, from fabric before cutting to finished measurements against your spec. That’s the subject of our quality-control guide. Most orders take approximately 4 weeks: around 2 weeks to make and another 2 weeks for shipping, with complex designs taking longer — we confirm the estimate when we quote.
You designed it with AI; it gets made by a person whose work you can see.
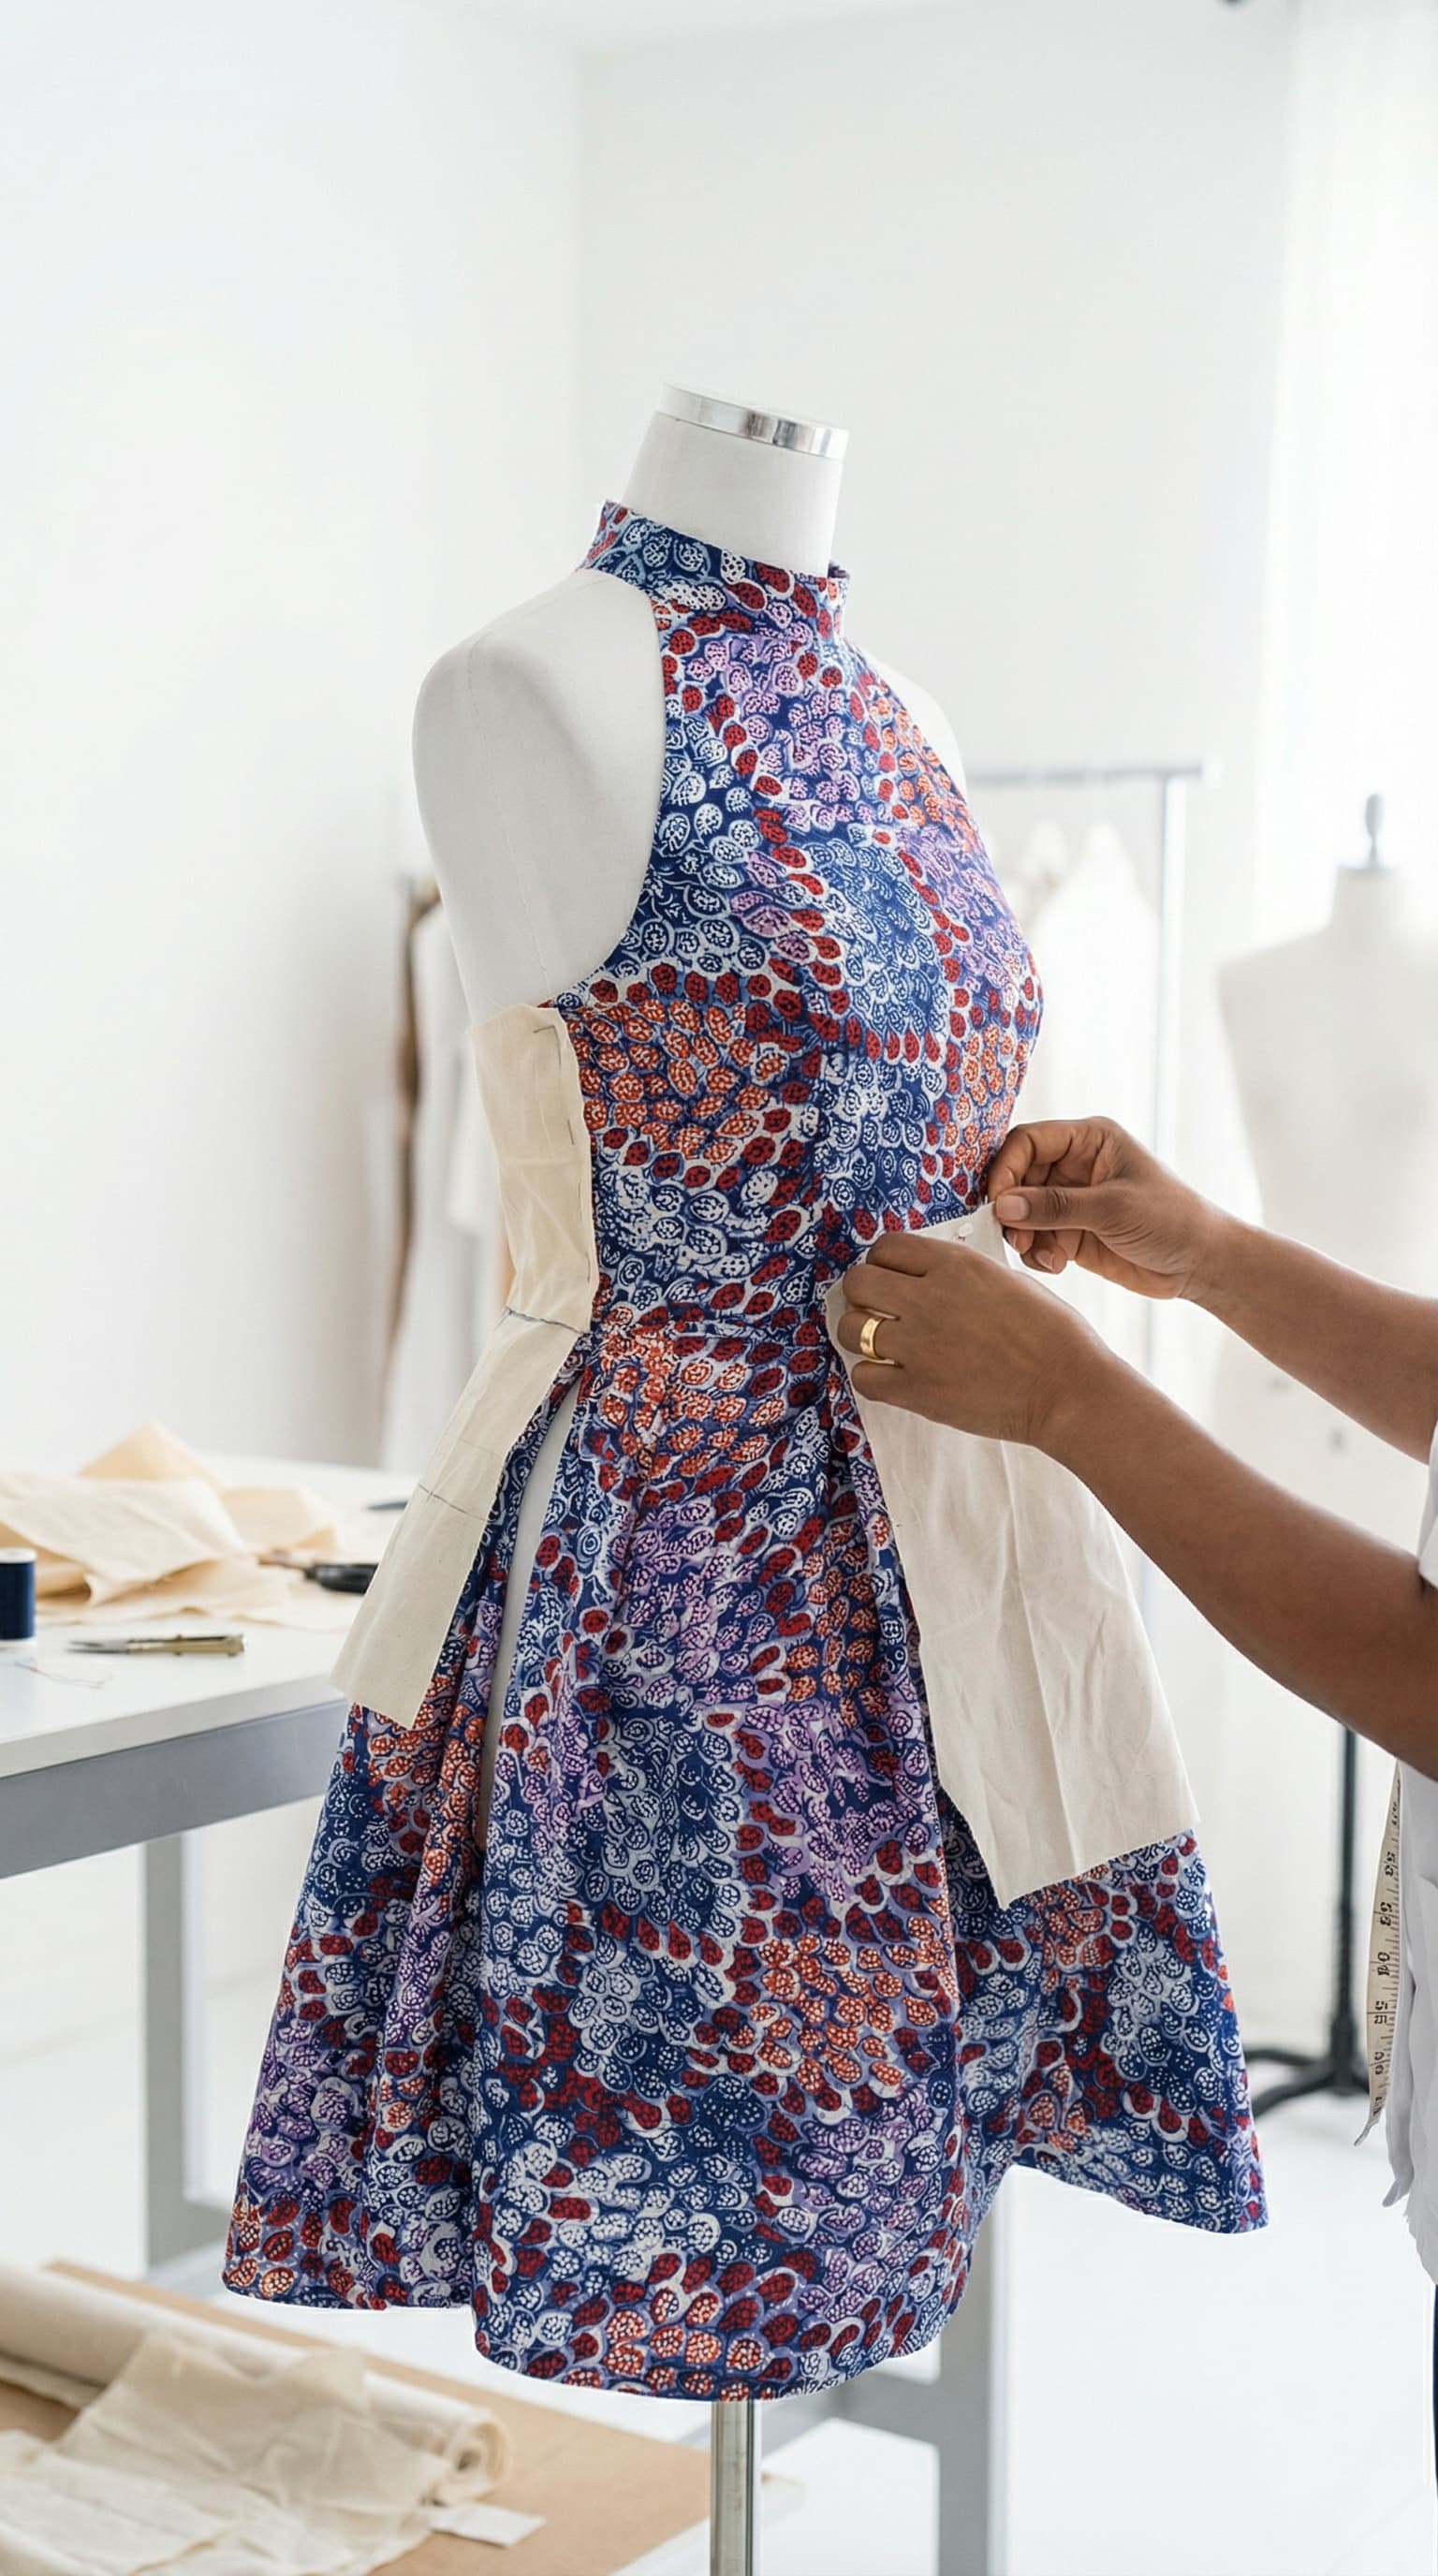
Designed with AI, made by hand
What this whole process is actually for.
A fair question: why design with AI at all, instead of just sending a photo of an existing dress?
Because the dress you want might not exist in any photo. AI generation is at its best when you’re combining things the market never combined — the neckline from one era with the fabric of another, a silhouette you’ve never seen in your colour, an idea that started as a feeling and needed twenty iterations to become specific. The generator is a sketchbook that draws faster than you can; the try-on is a fitting room for things that don’t exist yet; the feasibility check and the tailor are what make the whole exercise more than pictures.
And none of it is compulsory. Every path through the studio also works without AI: start from your own fabric, or message a tailor directly and skip generation entirely. First Nations fabrics are never AI-rendered at all — the artwork is visualised by hand by our team, out of respect for the artists.
Plenty of tools will sell you infinite beautiful renders. The credits here buy something narrower and more useful: a design process with a guaranteed exit into reality.
The short version.
- Describe a garment, not a mood: type + length + named fabric + construction details + closure, one mood word maximum.
- Iterate one variable at a time, generate the back, keep the partial wins.
- Use try-on for design information — hem, neckline, proportion on your body — not flattery.
- Expect the feasibility review to change things: hidden structure, real seams, real fabric. That’s the render becoming a garment.
- Nothing is cut without your sign-off, and making runs under per-garment photo evidence, start to finish.
Frequently asked questions
git commit -m "the idea, made wearable"
Got an idea that doesn’t exist yet? Start prompting.
Open the studio, and when a render makes your heart jump, send it for review. We’ll tell you honestly what it takes to make it real.