AI made your dream dress. Here’s how to make it real.
how to turn an AI clothing design into a real garment
the image is the beginning, not the blueprint
The short answer
Often, yes. An AI-generated clothing design can be turned into a real garment, but the image is only the beginning. Before fabric is cut, someone needs to interpret the shape, resolve missing details, choose materials, work out how the garment will be supported and adapt it to a real body. MadeApt is a made-to-measure platform founded in Perth, Western Australia, that turns AI and reference designs into garments sewn by vetted tailors.
You generated a dress, jacket or pair of trousers that you love. Whether it came from an AI clothes generator or a general image tool, it looks convincing on the screen — but can someone actually make it? That translation — from an appealing image into something sewable, wearable and well fitted — is where skilled human judgment matters.
An AI image is a concept, not a sewing pattern.
AI is very good at communicating a mood. It can help you explore a dramatic sleeve, combine two silhouettes, test a colour or finally show someone the dress that has existed only in your imagination. But a generated image does not usually contain everything required to make the garment. It may not show:
The image answers, “What could this look like?” A maker still needs to answer, “How should this be built?”
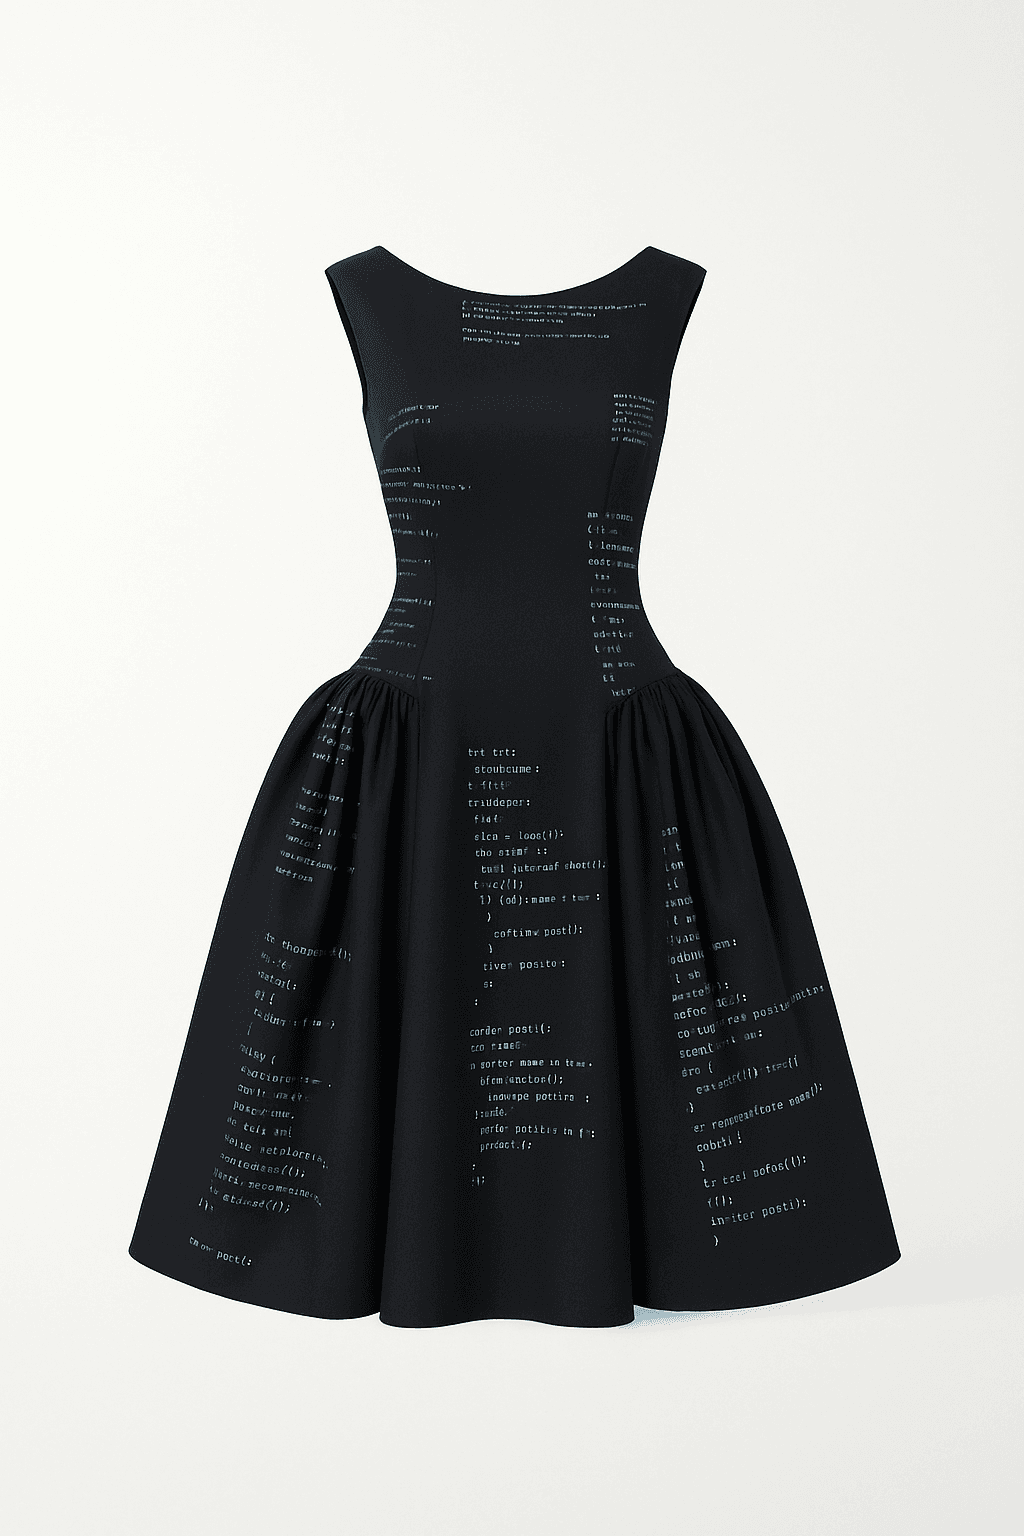
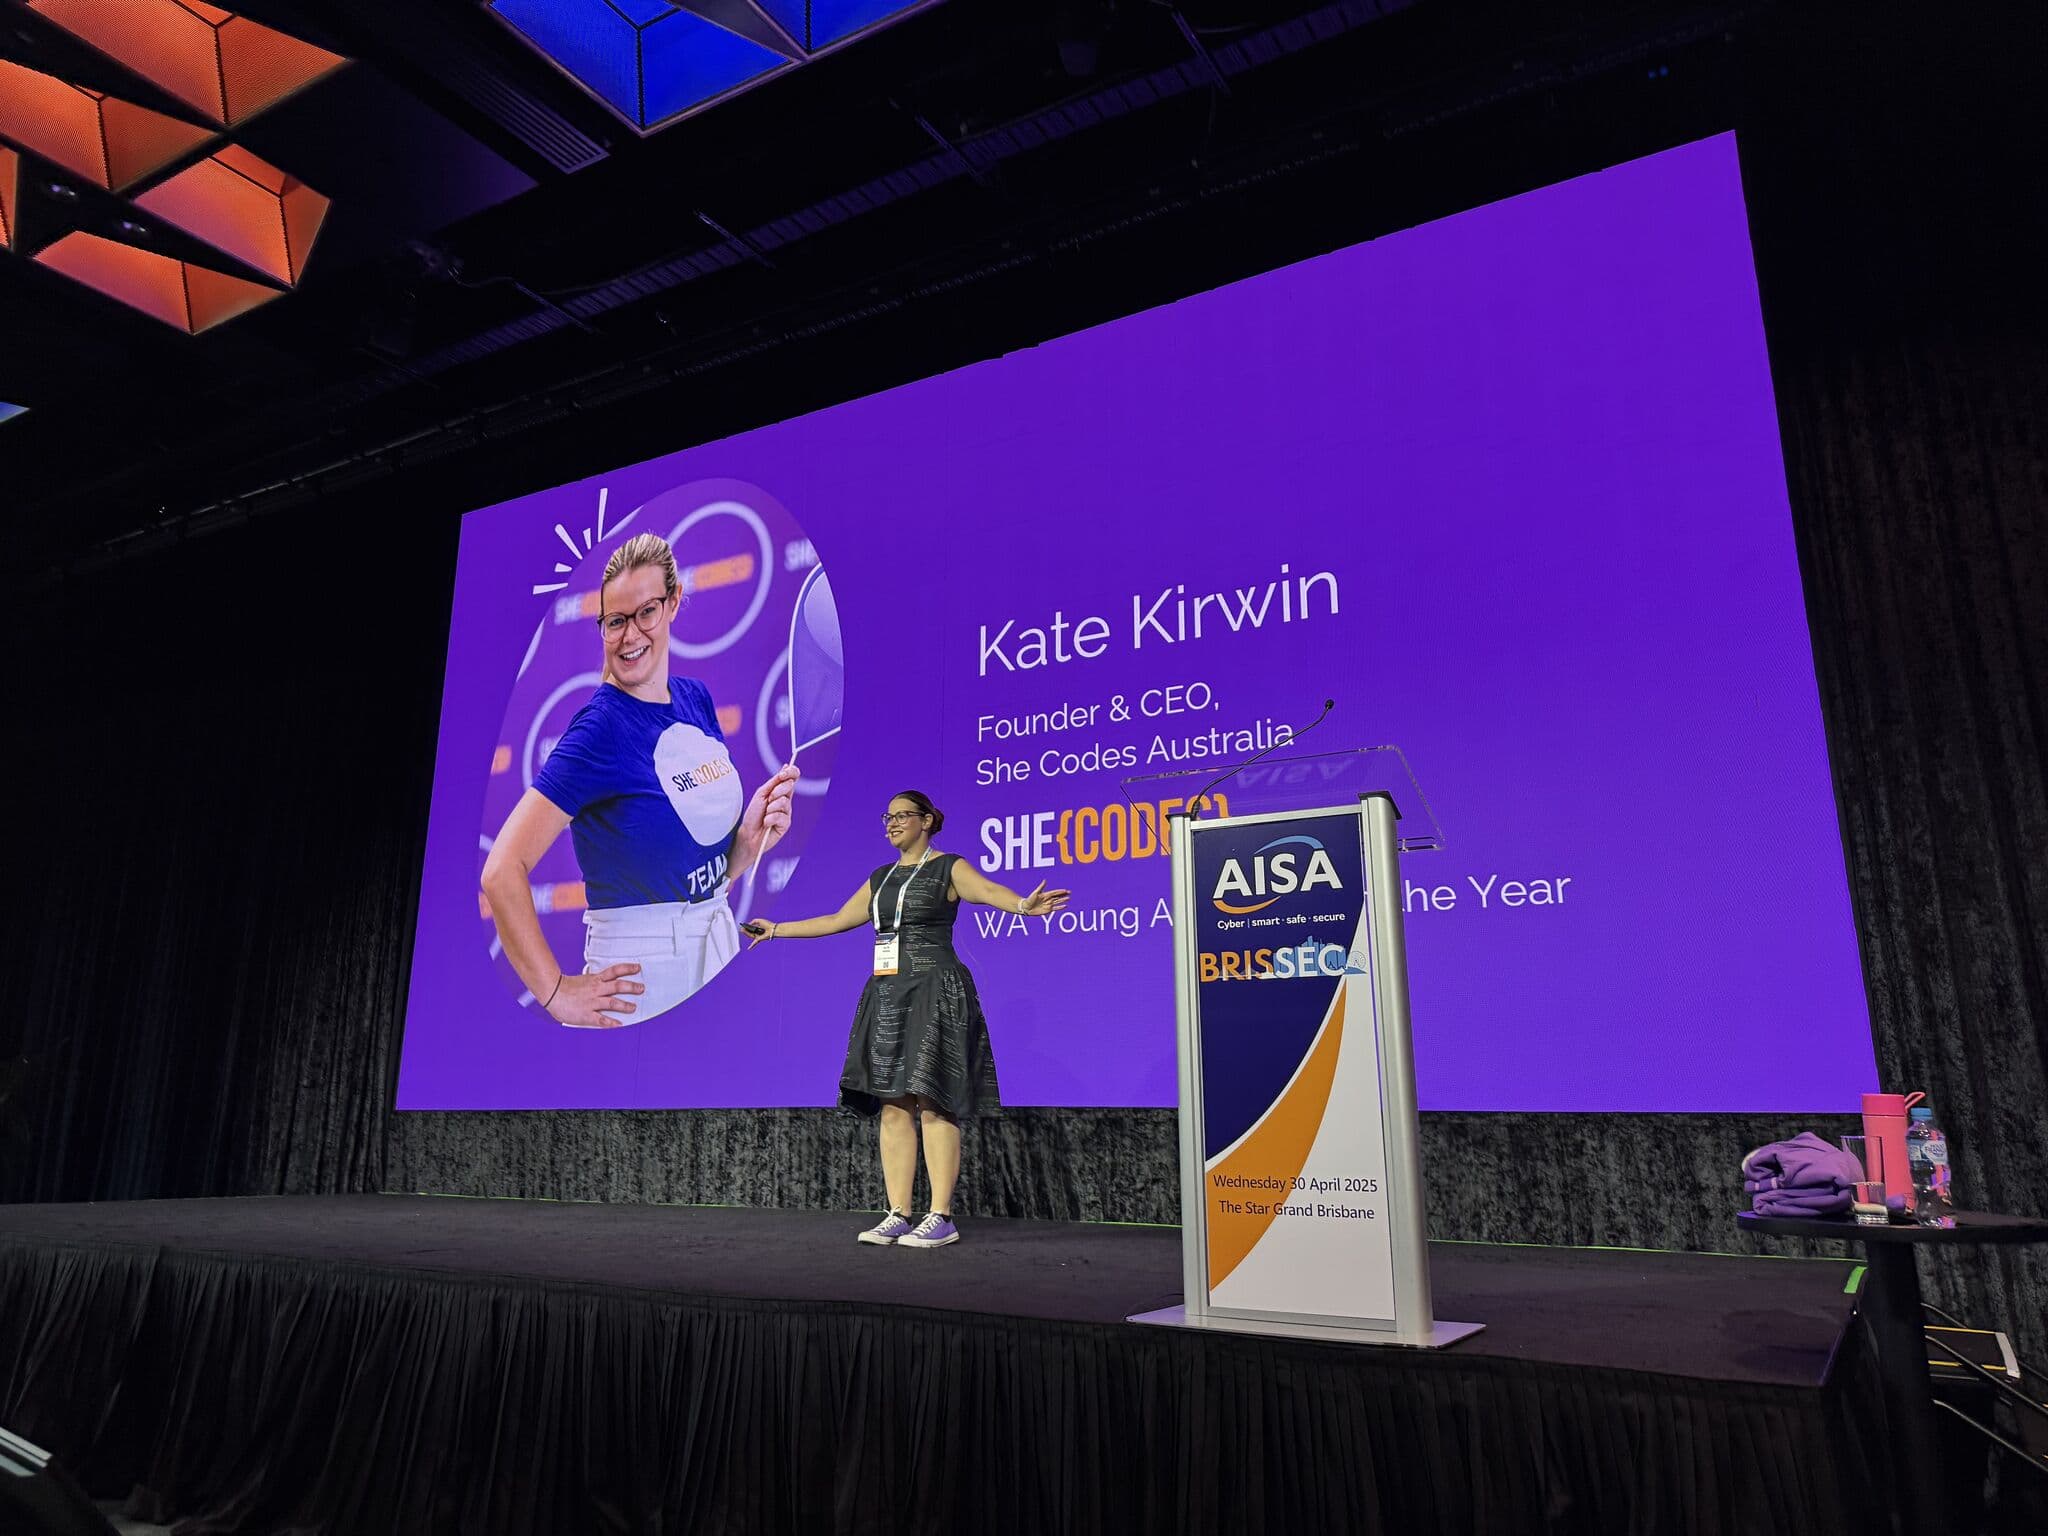
Can a tailor make clothing from an AI image?
A tailor or dressmaker can often work from an AI image if the concept is sufficiently clear and the unresolved decisions are discussed before construction begins. Simple garments may need only a reference image, measurements and a few practical choices. A structured evening dress, tailored jacket or highly unusual design will require more interpretation — front and back references, close-ups, fabric samples, construction notes or a professionally resolved sketch.
The aim should not be to copy every pixel. It should be to identify what you love about the design and recreate that feeling through real fabric and sound construction. The same thinking applies when you are working from a reference picture of a real dress.
Decide what is essential about the design.
Start by identifying the features that make the image feel special to you. That might be:
Try to separate those priorities from incidental AI details. A tiny fold, imaginary seam or piece of decoration may have appeared by accident. If everything is treated as equally important, the garment can become unnecessarily complicated and expensive.
A useful starting sentence: “The three things I most want to preserve are…” It gives the maker a clear hierarchy when practical changes are needed.
Check whether the design works in real life.
A feasibility review looks at whether the visible design can be constructed, supported and worn as intended. The maker or technical specialist should consider:
Balance
Will the garment sit correctly on a moving body?
Support
Does the neckline or bodice need straps, boning, cups or an internal waist stay?
Access
How will the wearer get in and out of it?
Movement
Can the wearer walk, sit, lift their arms and dance?
Weight
Will heavy draping, beading or a large sleeve pull the garment out of position?
Coverage
Is the image relying on transparency, shadows or strategically impossible fabric placement?
Finish
Can the edges, closures and internal construction be completed cleanly?
This does not mean making the design boring. It means finding the engineering that allows the interesting part to exist.
Signs an AI clothing design may be impossible as shown.
AI-generated fashion can look polished while quietly contradicting the way clothing works. Common warning signs — and what usually resolves them:
In the image
A strapless neckline with no visible support
To resolve
Boning, cups, grip elastic, a corset layer or discreet straps
In the image
Fabric floating away from the body
To resolve
Internal structure, stiffened fabric, wire or a redesigned shape
In the image
Transparent fabric behaving like tailoring wool
To resolve
Layering, interfacing or a different material
In the image
No seams on a highly fitted garment
To resolve
Darts, panels, stretch, draping or hidden seam placement
In the image
Different details on each side
To resolve
A decision about symmetry or intentional asymmetry
In the image
Embellishment merging into skin or hair
To resolve
A defined edge, attachment method and placement plan
In the image
An open back with a fully supported front
To resolve
Internal structure, alternative straps or a revised back
In the image
Extreme volume with no visible foundation
To resolve
Tulle, organza, horsehair braid, padding or an underskirt
None of these automatically ends the idea. They simply turn a visual effect into a design problem that needs solving.
Resolve the views AI did not generate.
One beautiful front image is rarely enough for a complex garment. Before making begins, decide:
You can generate additional views as exploratory references, but they may not remain consistent with the original. A human should compare them and make the final decisions. For an important or expensive garment, a clear front-and-back design summary is worth creating before fabric is purchased.
Choose fabric by behaviour, not appearance alone.
Fabric is one of the biggest reasons a finished garment differs from an AI image. An image generator can make silk stand like neoprene or make heavy velvet float like chiffon. Real textiles have weight, stretch, thickness, transparency and memory. They react to gravity and to the body underneath them.
The best match is not always the textile that looks most similar in a still image. It is the one that behaves in the way the design requires. If possible, review a physical swatch or a video of the fabric moving before approving it.
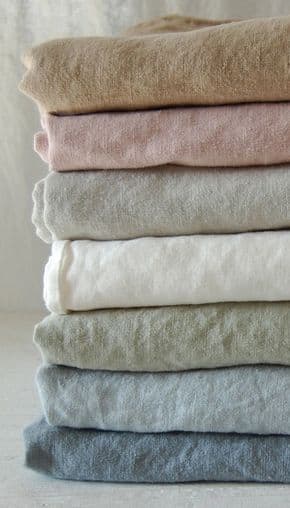
Real textiles obey gravity
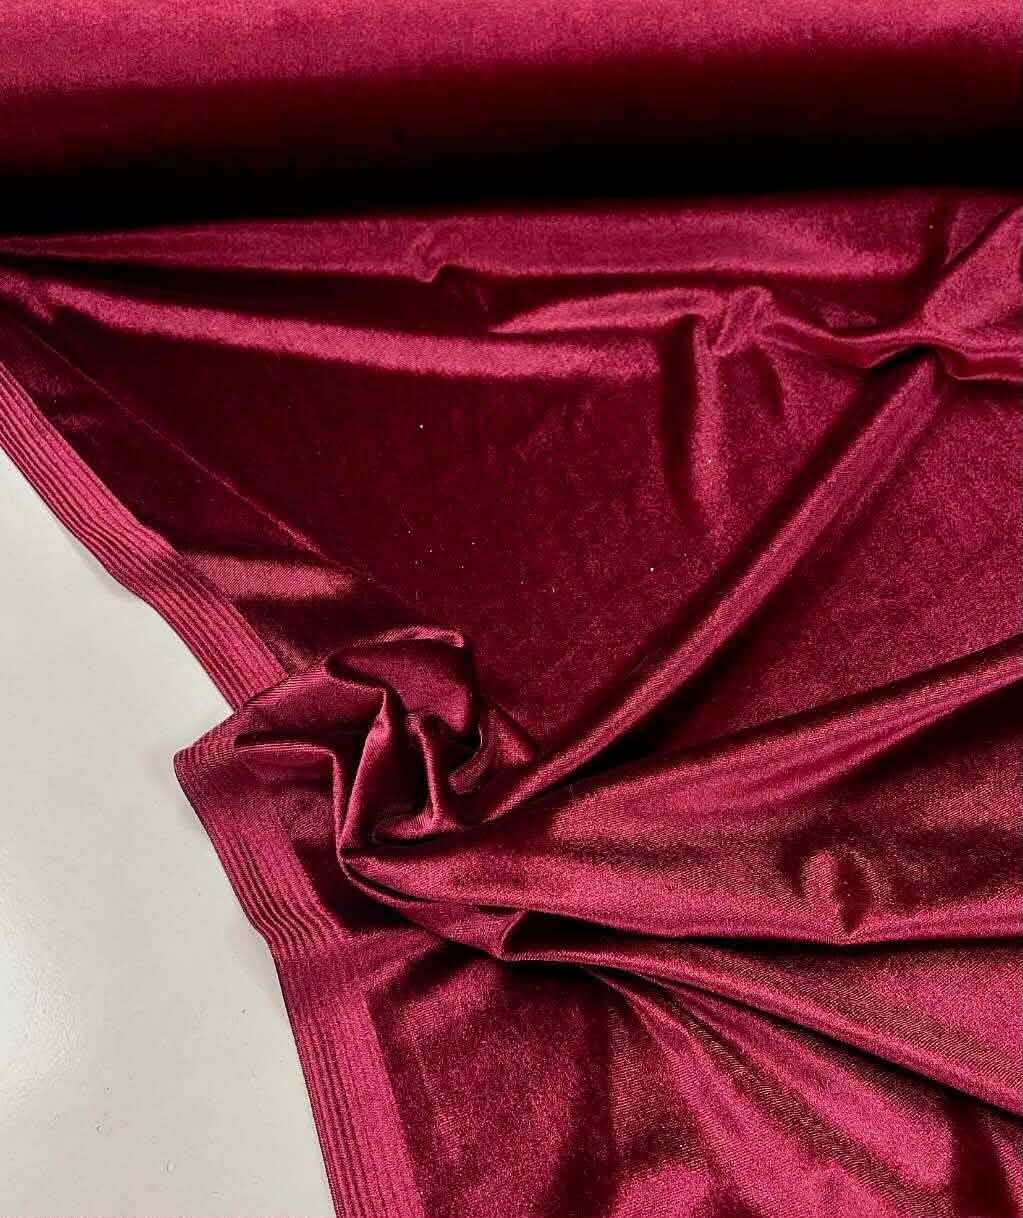
Velvet has weight, pile and memory
When choosing fabric, ask:
Turn the image into a maker-ready brief.
A useful production brief does not need to be full of technical jargon. It needs to remove ambiguity. Include:
- The original AI image and any supporting references
- The three features that matter most
- Front and back decisions
- Desired fit through the bust, waist, hips and limbs
- Garment and sleeve lengths
- Fabric preference and acceptable alternatives
- Lining, support and coverage requirements
- Fastening and pocket preferences
- The occasion, climate and level of movement required
- Your measurements
- Your budget and deadline
It is also helpful to describe how you want to feel in the garment. “I need to give a presentation, sit through dinner and dance comfortably” is valuable construction information — not just mood.
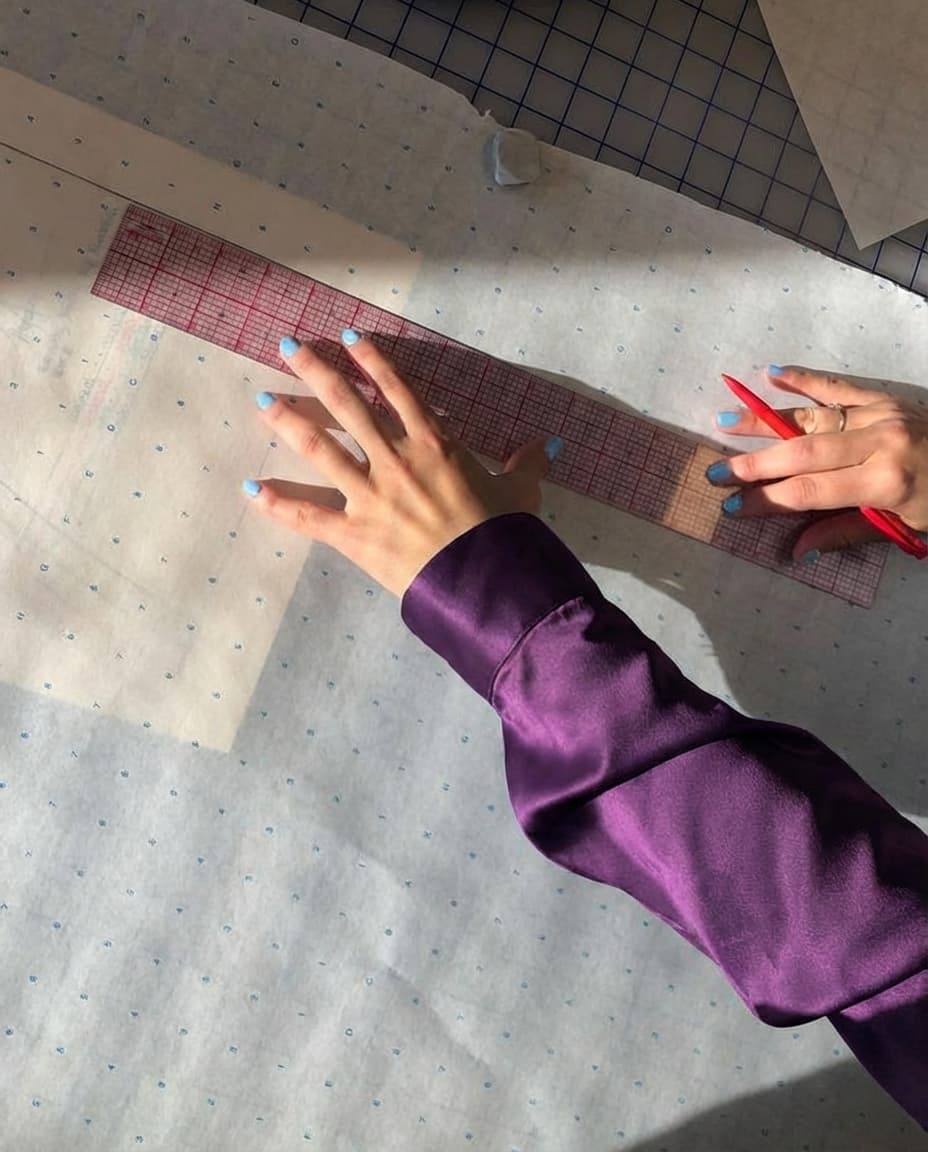
Made for the wearer, not the render
Adapt the design to your body.
Making clothing from an AI image should not mean forcing your body to match the generated model. The same sleeve, waist placement or skirt volume can feel completely different depending on height, torso length, shoulder width and the relationship between bust, waist and hips.
This is where made-to-measure work becomes more than resizing. A skilled maker may adjust the neckline, the natural waist, the scale of collars and sleeves, where a skirt begins to flare, the placement of prints, the ease needed for comfort and the internal support for the wearer’s body. MadeApt pieces are developed around the wearer’s measurements rather than graded from a standard retail size — you can explore the MadeApt measurement guide to see the information a maker may need.
Leave room for professional interpretation.
The strongest result is usually a collaboration — not a demand for an exact copy of an image that never existed physically. A good maker may recommend changing a seam, reducing a heavy detail, adding hidden structure or selecting a slightly different fabric. Those changes should be explained, but they are not necessarily compromises. Often, they are what make the garment look convincing beyond the camera angle in the original image.
Ask the maker:
That conversation should happen before the first cut, not after the garment arrives.
How MadeApt turns an AI clothing idea into something real.
MadeApt is not an image generator that stops at the picture. It is a collaborative custom-clothing platform connecting ideas, people and skilled garment-making. You can begin in the MadeApt Studio with a written idea, sketch, moodboard, reference image or AI-generated concept — the same way our custom-made dresses begin.
Share the idea
Upload the image and explain what you love about it.
Resolve the design
Clarify the silhouette, back, fabric, support and practical details.
Review feasibility and price
Determine what can be made, what should change and what the work will involve.
Provide measurements
The piece is developed for the person who will wear it.
Collaborate with a maker
A tailor, dressmaker or artisan constructs the garment using real materials and professional judgment.
Follow the process
Progress evidence and quality checks create a clearer trail between the idea and finished piece.
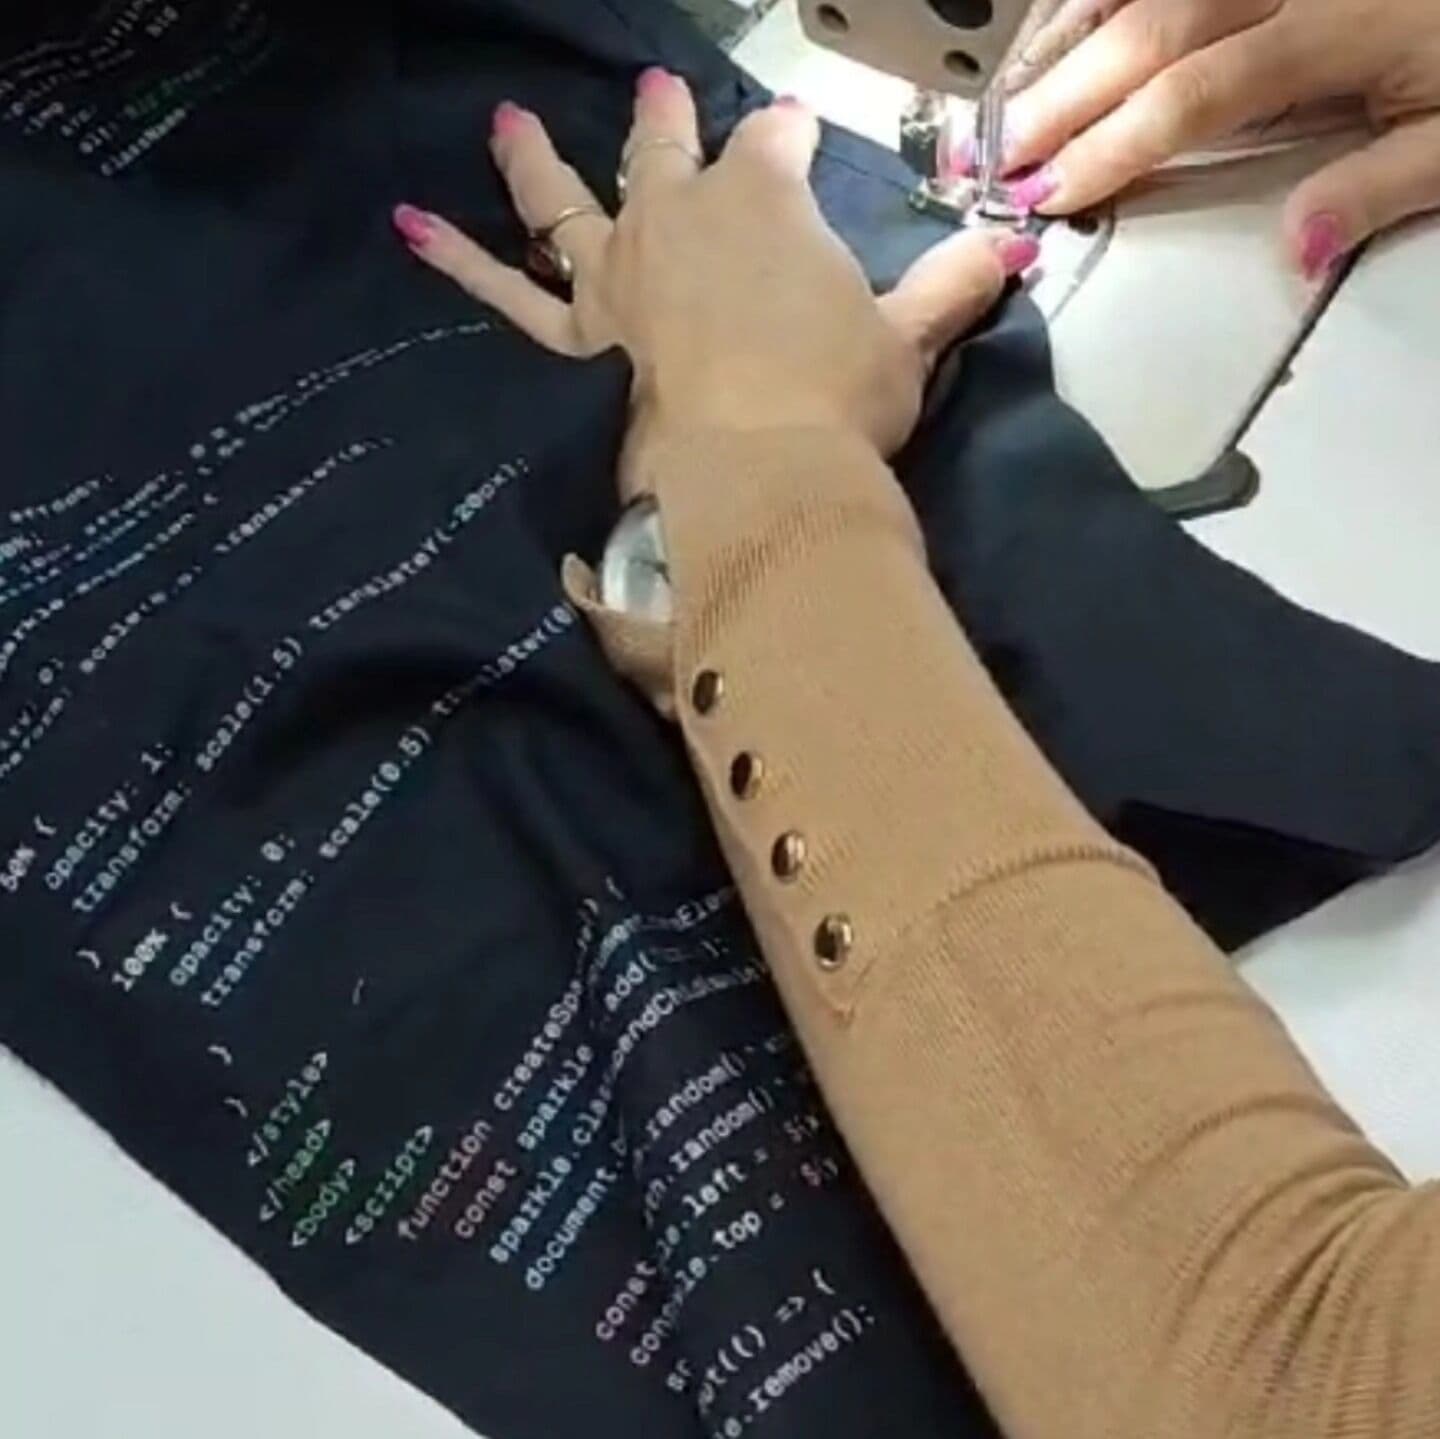
The making is human
How much does it cost to make an AI-generated clothing design?
There is no single price for turning an AI design into clothing. The image may represent a simple slip dress or a corseted gown with hand-applied embellishment, even if both took seconds to generate. The final cost depends on:
Typical ranges. A simple dress from an AI image — a slip, shirt dress or unlined midi — usually lands around $180–280 AUD. A structured or fully lined dress with shaping, sleeves or a defined waist is typically $280–400 AUD. A supported gown with corsetry, real volume or embellishment starts around $360 AUD and is quoted individually; heavy hand embellishment adds both cost and weeks.
If your image is a ballgown and your budget is a slip dress, tell us. We’ll show you the version of the idea that fits — that conversation is exactly what the feasibility review is for.
A responsible quote should be based on a resolved version of the design — not just the apparent simplicity of the image.
For the brackets in more detail, read how much a custom-made dress costs in Australia. For what should be checked before the finished piece ships to you, see the quality-control guide for custom-made clothing.
What about originality and ethics?
AI makes it easy to combine references, but generating an image does not automatically make every resulting design original or appropriate to reproduce. Avoid asking a maker to duplicate a recognisable designer garment exactly. If your image was produced from someone else’s work, identify the specific features you liked and develop a meaningfully different version. Cultural artwork, licensed prints, logos and distinctive artistic elements may also require permission.
MadeApt’s position is that technology should expand someone’s ability to participate in design while supporting — not erasing — the human skill involved in making clothing. We discuss this in more depth in Is Designing Clothes With AI Ethical?
The real opportunity is not infinite images. It is a clearer conversation between the person imagining the garment and the people capable of making it.
AI can make fashion ideas more accessible to people who cannot draw, use professional design software or find the right words for what they want. But the useful outcome is not another folder of beautiful images. The image can begin the process. Fabric knowledge, construction skill, fit expertise and communication are what carry it into the real world.
Frequently asked questions
git commit -m "image → garment"
Have an AI clothing design you want to make real?
Open the MadeApt Studio and share your image, sketch or idea. Tell us which elements matter most, how you want the piece to feel and where you plan to wear it. We can help turn the concept into a clearer, wearable direction before it reaches the cutting table.