Quality control for custom-made clothing: a per-garment checklist
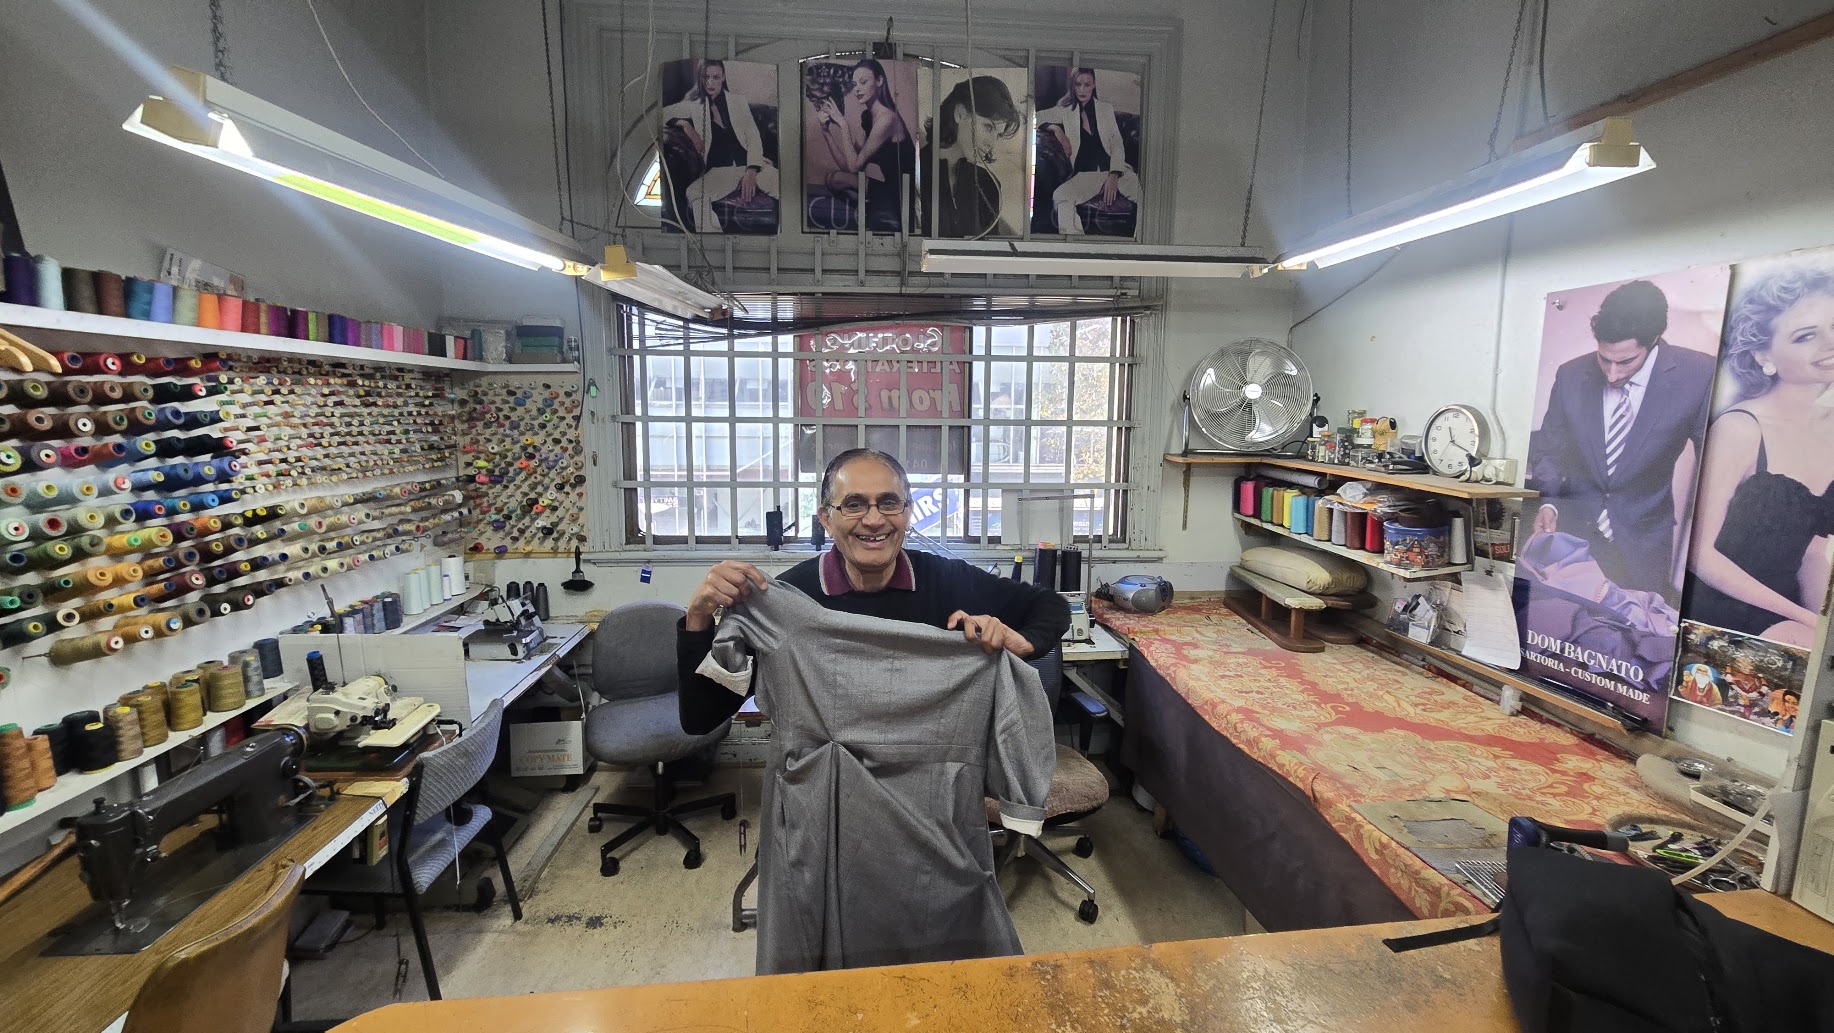
When a business produces hundreds or thousands of identical garments, it can inspect a sample from the batch and use that sample to estimate the overall production quality.
Custom-made clothing works differently.
Every garment may have a different design, set of measurements, fabric, fit requirement and intended wearer. Even when two customers order the same style, the finished garments are rarely identical.
In custom fashion, every garment is effectively a batch of one.
That means quality control cannot only happen at the end of production. A finished inspection may identify a problem, but by then the fabric has already been cut, the garment has been constructed and the delivery deadline may be approaching.
A stronger quality-control process checks the garment at several defined stages. Each stage confirms that the work matches the approved specifications before production continues.
This guide provides a practical per-garment quality-control checklist for custom clothing, made-to-measure garments, bridalwear, costumes and small fashion-production runs.
What is per-garment quality control?
Per-garment quality control is a process in which every custom garment is reviewed against its own specifications.
Instead of inspecting one item as a representation of a larger batch, the maker, studio or production manager checks each individual garment. The review may include:
- Customer measurements
- Approved design details
- Fabric and trim selections
- Pattern and cutting information
- Construction progress
- Finished garment measurements
- Workmanship and finishing
- Photographic evidence
- Packaging and shipping details
The purpose is not to create unnecessary administration. It is to catch expensive mistakes while they can still be corrected.
For example, identifying an incorrect neckline during an early construction check is usually easier than discovering it after the lining, closures and finishing have been completed.
Why custom-made clothing needs a different QC process
Custom garments carry a concentrated level of risk.
A single mistake can affect an entire order because there may be no identical replacement available. The business may need to source more fabric, remake part of the garment or negotiate a delayed delivery with the customer.
This is particularly important for garments connected to a fixed event, such as:
- Wedding dresses
- Bridesmaid dresses
- Formalwear
- Dance costumes
- Theatre and performance costumes
- Graduation outfits
- Custom uniforms
- Made-to-measure occasionwear
The customer is also purchasing more than a physical garment. They are trusting the studio to interpret their measurements, preferences and expectations correctly.
A documented quality-control process helps protect that trust. It creates a shared record of what was ordered, what was approved and what was checked before the garment was shipped.
The custom-garment quality-control checklist
The following checklist can be adapted for a single tailor, bridal studio, costume team, independent designer or distributed production network.
Confirm the approved garment specification
Before fabric is cut, confirm that everyone is working from the same version of the order.
The garment specification should clearly record:
- Garment type
- Approved design or reference images
- Front and back details
- Neckline
- Sleeve style and length
- Waist position
- Garment length
- Silhouette
- Closure type
- Pockets
- Lining requirements
- Embellishment placement
- Fabric
- Colour
- Trims and hardware
- Required delivery date
- Special customer requests
Avoid relying on design details scattered across emails, messages and voice notes.
If an important decision changes, update the main specification rather than expecting the maker to remember which message contains the latest instruction.
Do not begin cutting until the final design, material and construction details have been approved and recorded.
Review the customer's measurements
Measurements are one of the most important inputs in custom clothing, but receiving a list of numbers is not enough.
Check that:
- All required measurements have been provided
- The units are clearly identified
- The measurements appear internally consistent
- The customer followed the correct measurement instructions
- The intended fit has been recorded
- The intended shoe or heel height has been considered
- The garment's final length has been confirmed
- Any asymmetry or mobility requirement has been noted
- Ease has been added appropriately for the garment style
A body measurement and a finished garment measurement are not the same thing.
For example, a fitted waist measurement may require a different amount of ease from a loose skirt, structured jacket or stretch garment. The maker should understand both the body measurement and the intended fit.
Where a measurement appears unusual, confirm it before cutting. Do not quietly “correct” it based on assumptions.
Measurements should be complete, reviewed and matched to the intended silhouette before the pattern is finalised.
Verify the fabric and components
Before production begins, confirm that the selected materials are suitable for the approved design.
Check:
- Fabric composition
- Fabric width
- Available quantity
- Colour and dye-lot consistency
- Stretch direction
- Fabric weight
- Transparency
- Drape
- Surface texture
- Print or stripe direction
- Shrinkage risk
- Lining compatibility
- Interfacing requirements
- Zip, button and closure quality
- Embellishment quantity and placement
The same design can behave very differently depending on the fabric.
A structured cotton, fluid satin, lightweight chiffon and stretch knit cannot necessarily use the same pattern, seam finish or construction method.
Printed and striped fabrics require additional attention. The cutting plan should consider pattern matching, placement and direction before the first piece is cut.
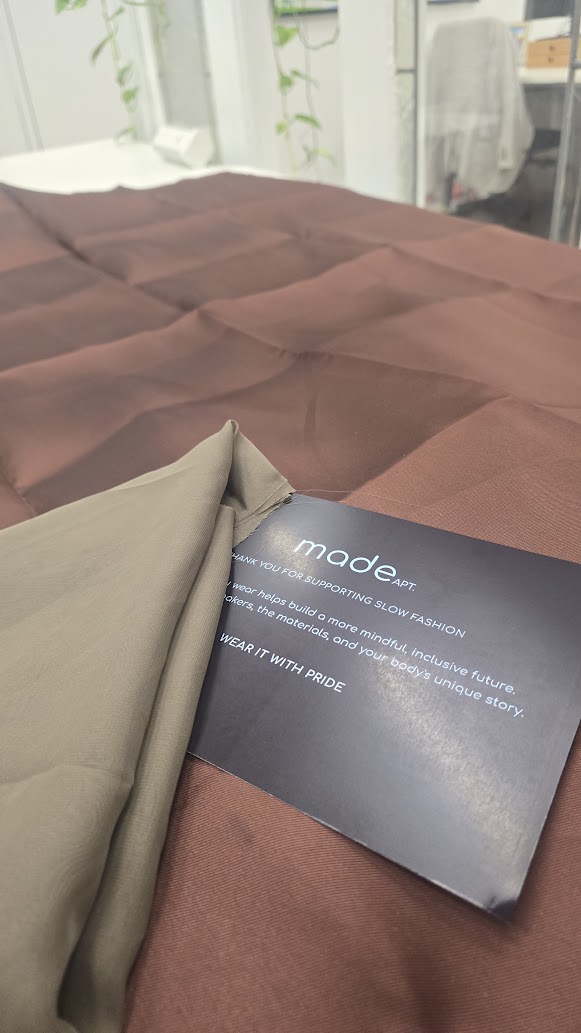
Photograph the approved fabric, lining, trims and closures together before cutting. Record any substitutions and obtain approval when they materially change the appearance or performance of the garment.
Do not cut until the fabric and components have been checked against the garment's construction requirements.
Check the pattern and cutting stage
Cutting mistakes are among the most difficult production errors to reverse.
Before or immediately after cutting, review:
- Pattern version
- Measurement adjustments
- Seam allowance
- Grainline
- Stretch direction
- Print placement
- Stripe alignment
- Mirrored pattern pieces
- Left and right components
- Notches and construction markings
- Required number of pieces
- Lining and interfacing pieces
For expensive, limited or customer-supplied fabric, this stage deserves particular attention.
A simple photograph of the pattern pieces positioned on the fabric can provide valuable evidence that placement and direction were considered before cutting.
Confirm that the correct pattern version and cutting layout have been used before irreversible construction begins.
Inspect construction in progress
Do not wait until the garment is complete to inspect its shape.
Choose checkpoints that make sense for the garment. These might include the bodice assembled before lining, main seams joined, sleeves attached, the waist seam completed, the zip position confirmed, pockets constructed, the collar or neckline formed, skirt panels assembled, embellishments positioned but not permanently attached, or the garment shown on a mannequin.
At this stage, compare the work against the approved design. Check:
- Overall silhouette
- Proportion
- Symmetry
- Neckline shape
- Sleeve shape and position
- Waist placement
- Pocket position
- Seam placement
- Pattern matching
- Drape
- Structural support
- Construction neatness
Progress photographs should be clear enough to support a real decision. A close-up of an isolated seam may not reveal whether the overall silhouette is correct.
Useful evidence usually includes a full front view, full back view and close-ups of any complex or high-risk details.
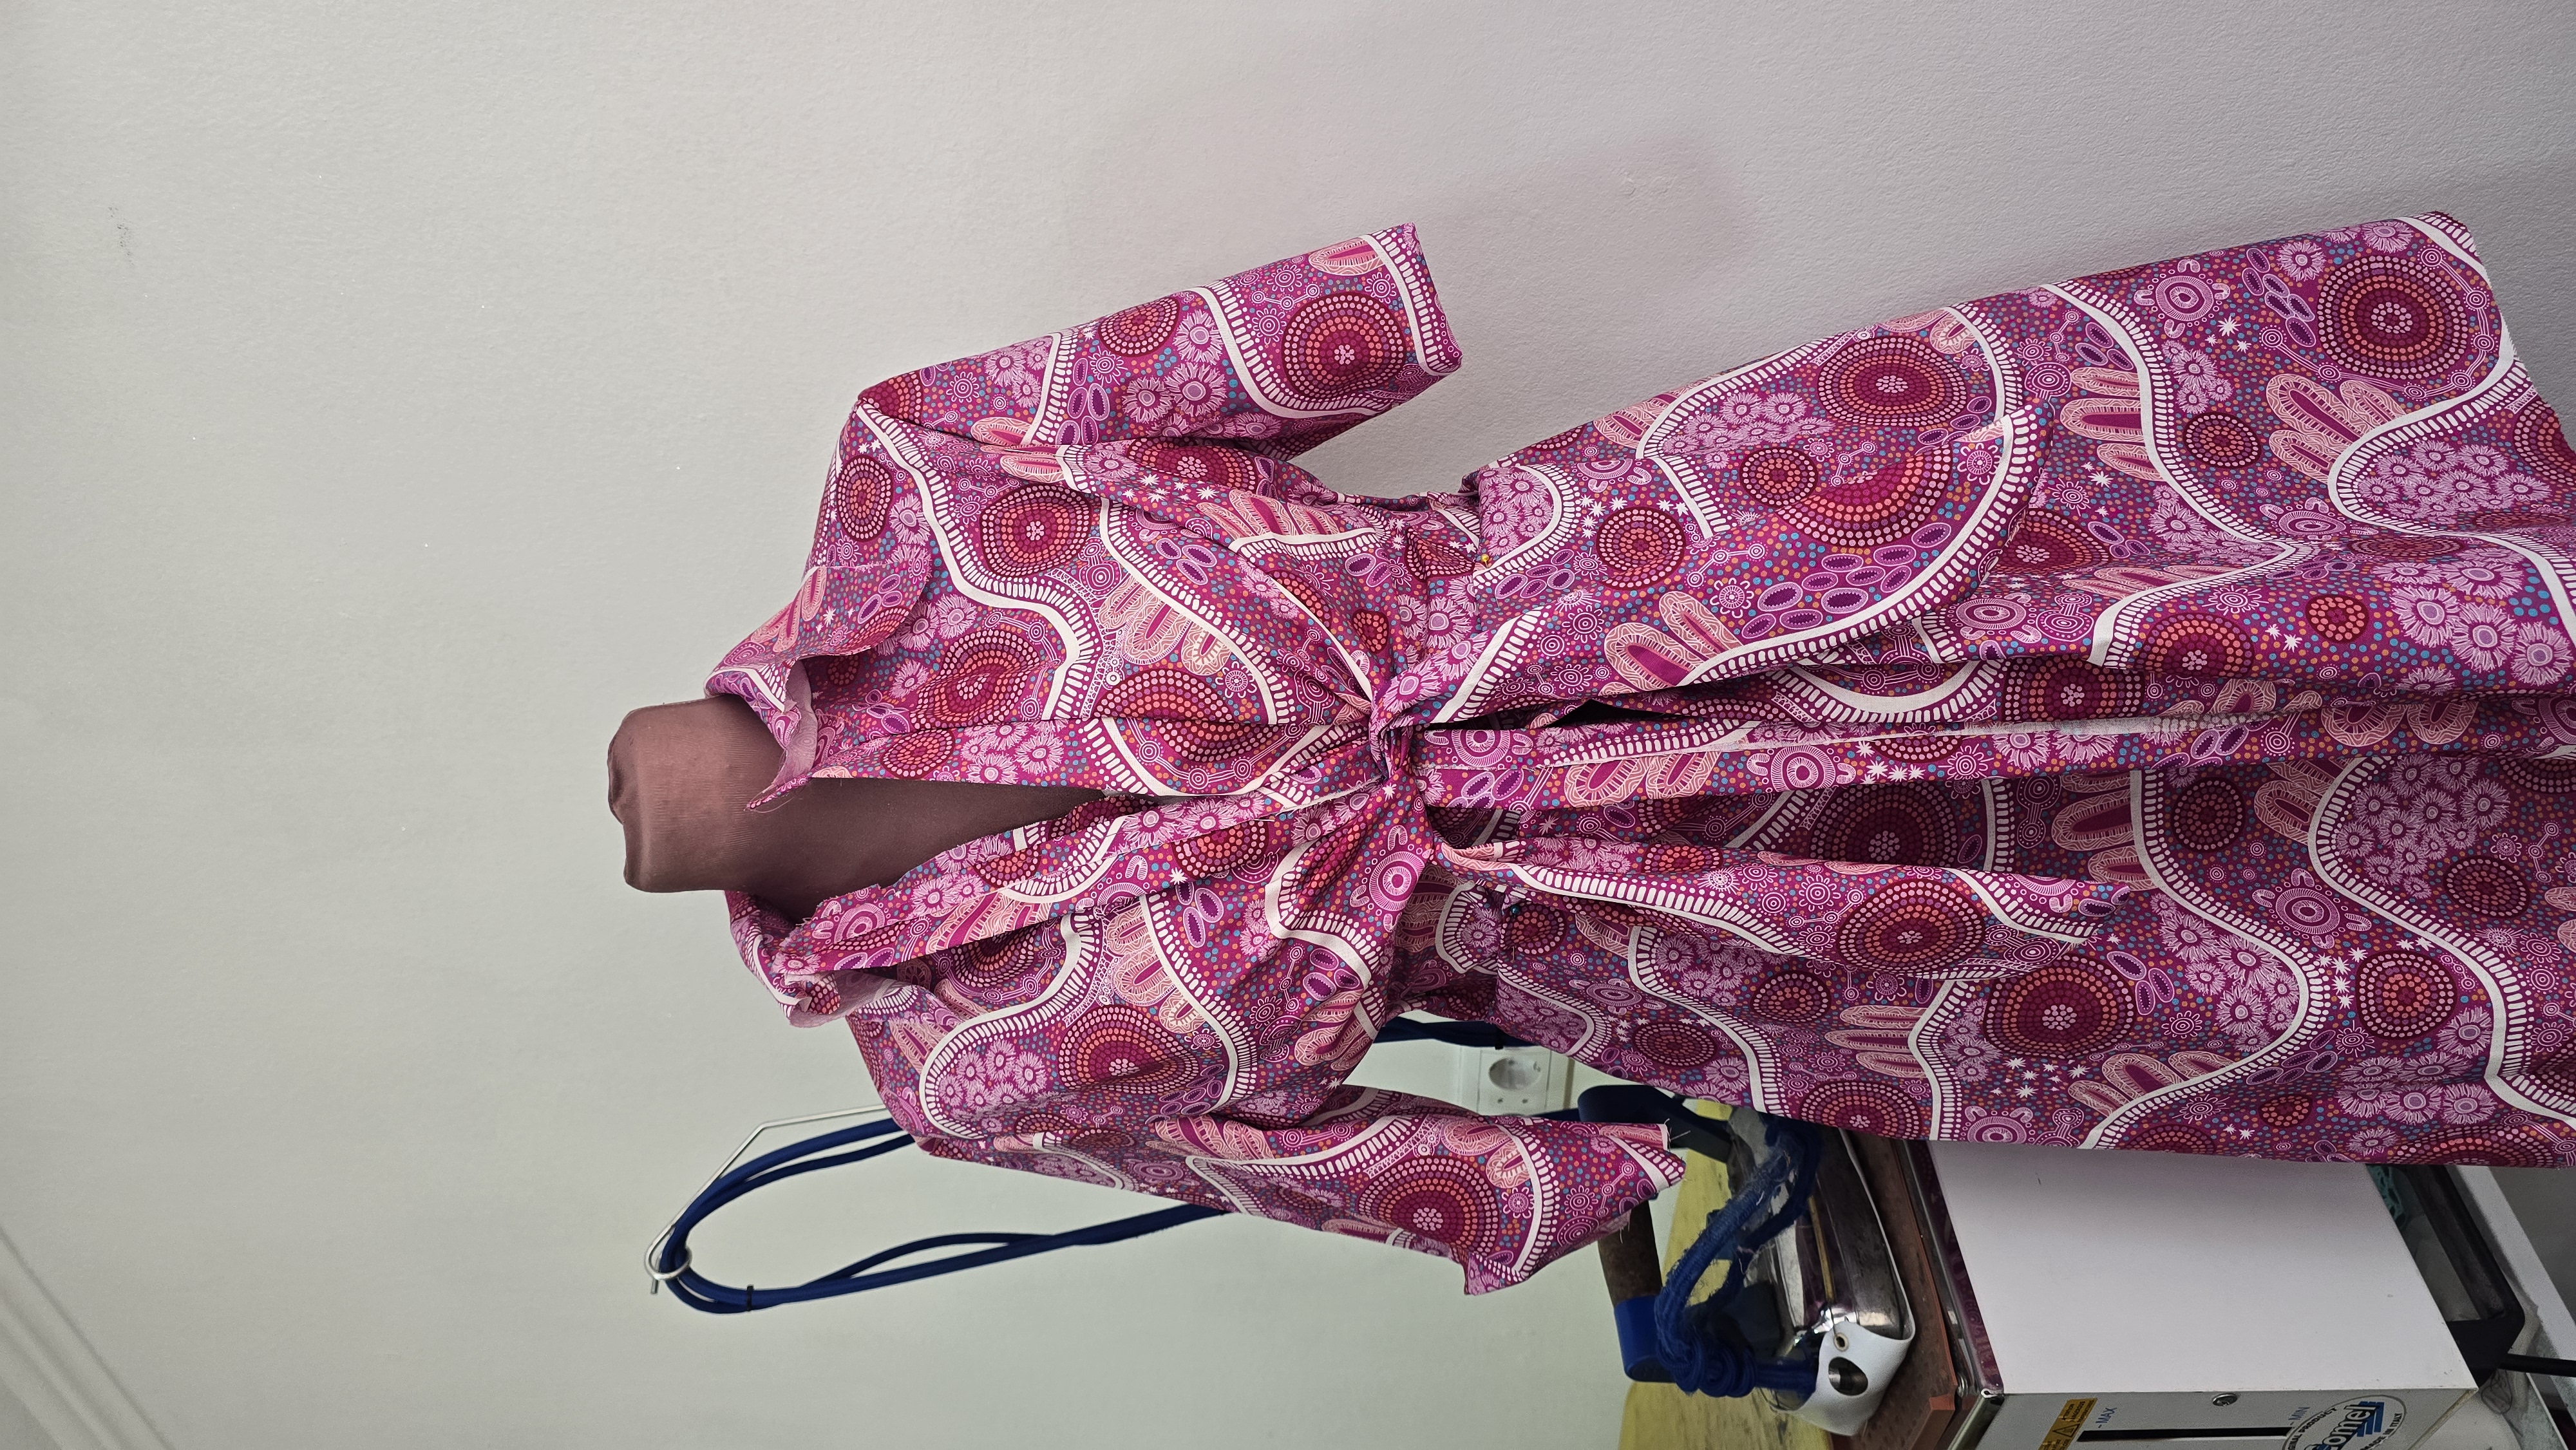
Do not move into final assembly and finishing until the garment's overall construction has been reviewed.
Verify the finished garment measurements
Once the garment is constructed, compare its finished measurements with the approved specification.
Depending on the garment, check:
- Bust
- Waist
- Full hip
- Shoulder width
- Bodice length
- Sleeve length
- Bicep circumference
- Garment length
- Trouser rise
- Inseam
- Outside leg
- Thigh circumference
- Hem circumference
- Neck opening
- Strap length
Record how each measurement was taken. A number without a consistent measurement method can be difficult to verify later.
The garment should also be assessed three-dimensionally where possible. A flat measurement may be correct while the garment still hangs unevenly or twists because of construction, grain or balance issues.
Provide photographs showing the measuring tape positioned on the garment. This makes the measurement record easier for another person to review.
The finished garment measurements should fall within the studio's approved tolerance before the order proceeds.
Inspect workmanship and finishing
The final workmanship inspection should be systematic rather than based on a quick visual impression.
- Seams are secure
- Stitching is even
- Topstitching is straight
- Left and right sides are symmetrical
- Darts and pleats are correctly positioned
- Hems are level
- Pattern or stripe placement is intentional
- Embellishments are secure
- Fabric is free from marks, pulls and damage
- There are no loose threads
- Pressing has not created shine or impressions
- Closures sit correctly
- Seam finishes are appropriate
- Lining sits smoothly
- Interfacing is secure
- Boning or structure is covered
- Internal threads are trimmed
- Labels are correctly positioned
- Fastenings are reinforced
- Alteration access has been provided where required
- Zips
- Buttons
- Hooks and eyes
- Snaps
- Drawstrings
- Adjustable straps
- Pockets
- Slits
- Movement at stress points
- Ease of dressing and undressing
Do not assume a zip works correctly because it looks correctly installed. Open and close it several times.
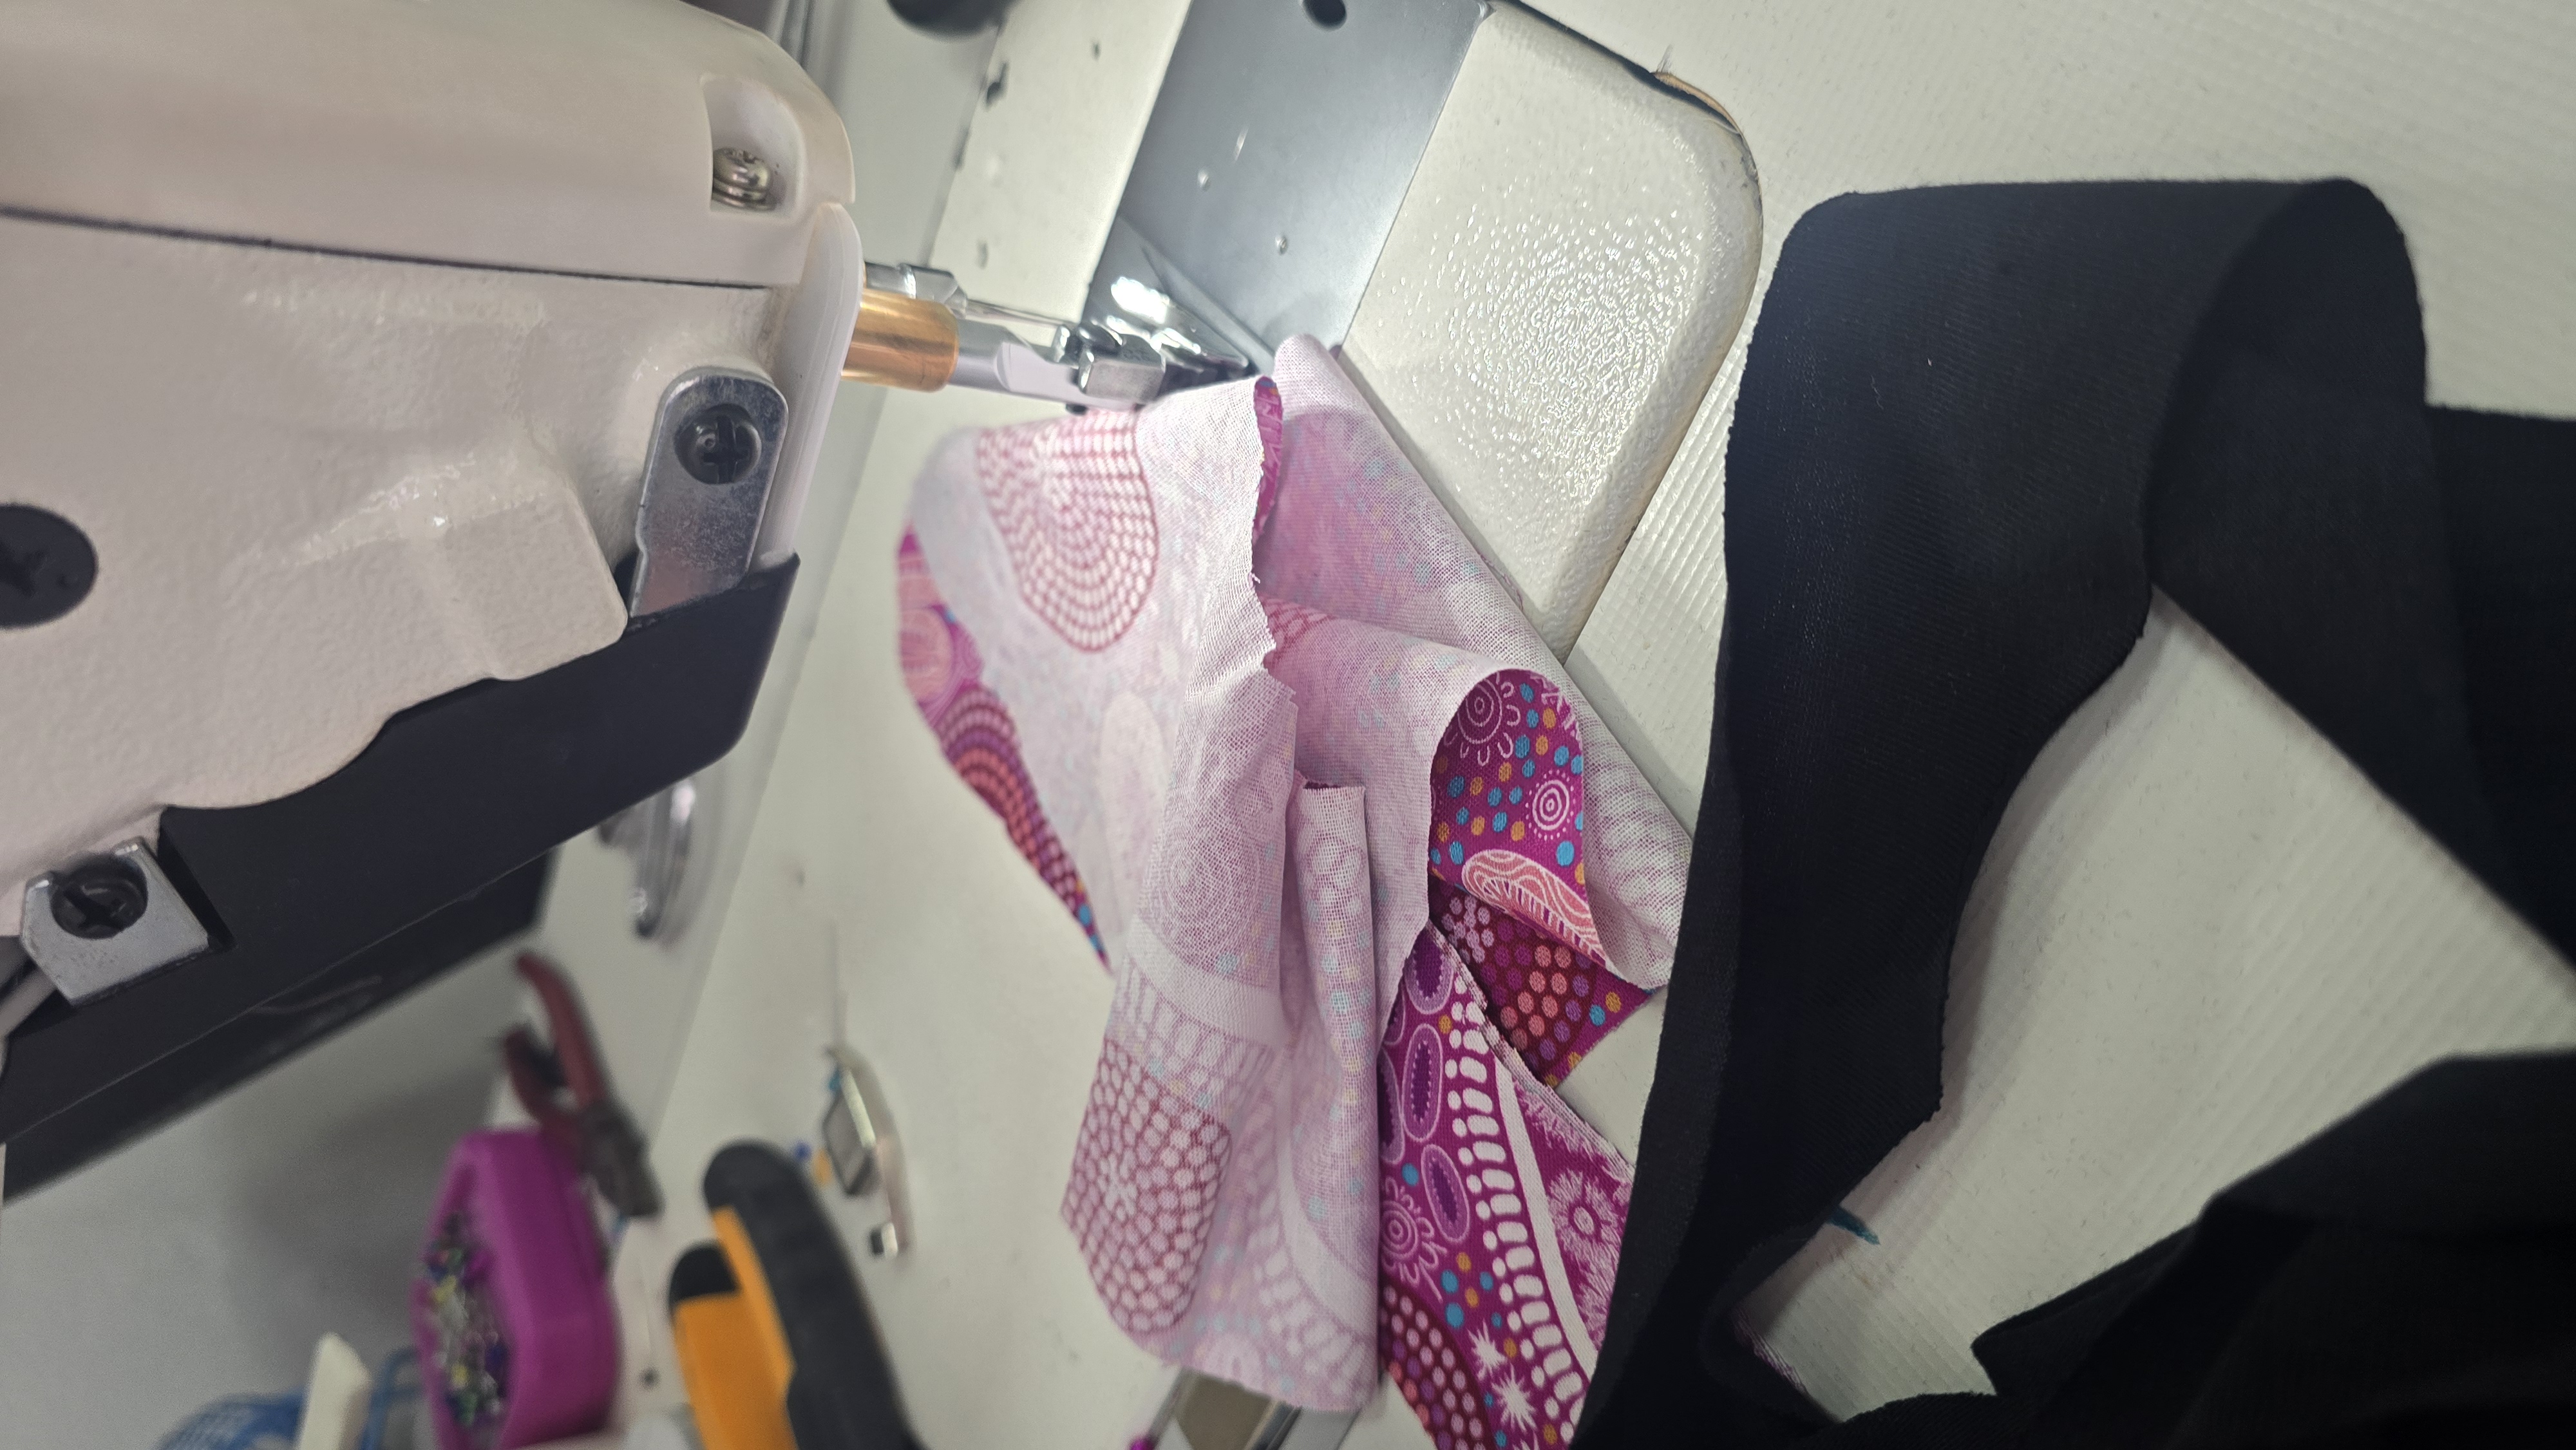
The garment should not be approved because it is merely “finished.” It should be approved because its construction, appearance and function have been checked.
Compare the finished garment with the original order
Return to the approved specification and compare it with the completed garment. Ask:
- Is this recognisably the garment the customer approved?
- Are the proportions correct?
- Were all requested features included?
- Were any changes documented?
- Does the fabric behave as expected?
- Does the level of workmanship match the agreed price and positioning?
- Is anything likely to surprise the customer?
The final question is especially useful. A detail may not technically be defective, but it can still create disappointment if it differs significantly from the customer's expectations.
Examples include a more transparent fabric than expected, a neckline sitting lower than the reference, a skirt appearing less full, a visible lining colour, a different button or trim, or a slightly altered embellishment layout.
Where there is a meaningful difference, communicate it before shipping.
Meaningful differences from the approved order are communicated to the customer before the garment ships.
Complete a client-visible final review
A client-visible evidence trail does not mean sending the customer every production photograph or asking them to manage the maker.
It means providing clear, organised proof at the moments when their input or approval is needed. A final review might include:
- Front photograph
- Back photograph
- Side photograph
- Close-ups of important details
- Finished garment measurements
- Confirmation that closures were tested
- Disclosure of any approved substitutions
- Notes about fit or styling
- Care instructions
For remote production, this review gives the studio an opportunity to identify concerns before paying for international shipping or presenting the garment to the customer.
It also provides the customer with greater confidence that the garment has been inspected rather than shipped immediately after construction.
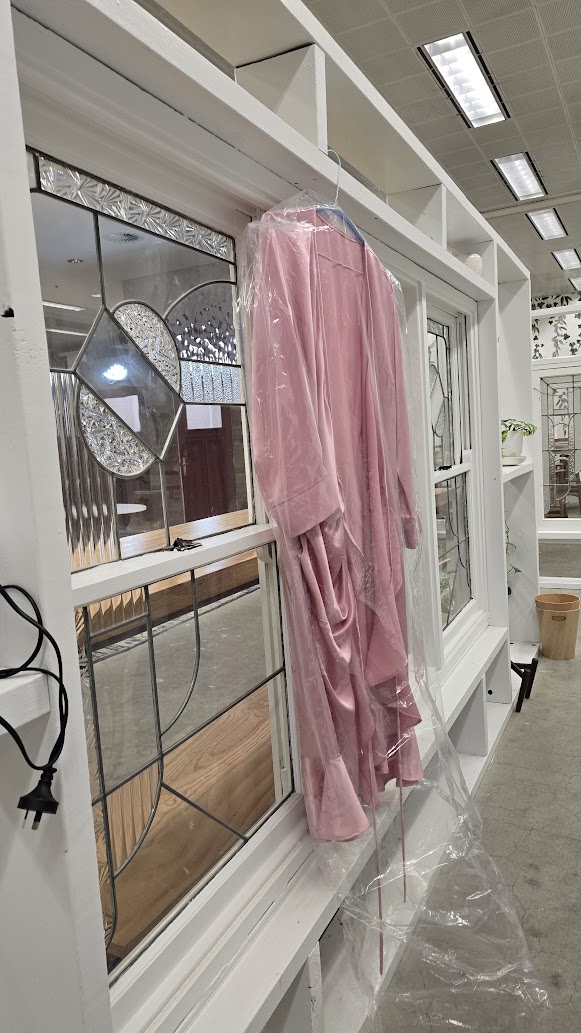
The final review is assembled and checked before the garment is presented or dispatched.
Check pressing, packing and shipping
A well-made garment can still arrive in poor condition if it is packed incorrectly.
Before dispatch, check:
- The garment has been cleaned where necessary
- Chalk and temporary markings have been removed
- The garment has been properly pressed or steamed
- Embellishments are protected
- Structured areas are supported
- Delicate fabric is not crushed
- The correct garment is being sent
- Accessories and detachable pieces are included
- Care instructions are included
- The shipping address is complete
- The delivery service is appropriate for the deadline
- Tracking and insurance have been arranged where necessary
Photograph the garment after final pressing and before packing. For high-value garments, it may also be useful to document how the garment was packaged.
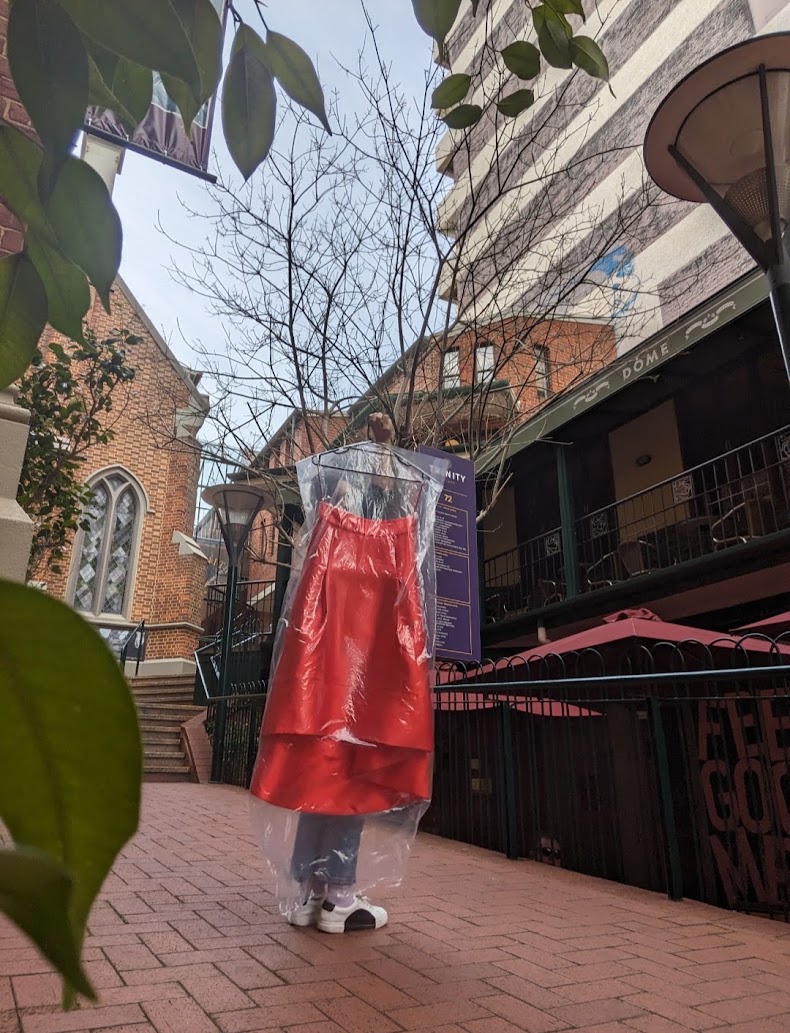
Shipping should only be authorised once the garment, evidence record and delivery information have been reviewed.
Who is responsible for quality control?
In a small custom-fashion business, quality control may be shared between several people.
The maker may check construction quality. The designer may confirm that the garment matches the original concept. A local studio may perform the final inspection, pressing and packing. The customer may approve visible design decisions.
The important point is that responsibility should be explicit. For every production stage, decide:
- Who submits the evidence?
- Who reviews it?
- What must be approved?
- What happens if the garment fails the check?
- Who authorises the next stage?
Without a defined process, everyone may assume that somebody else completed the inspection.
Common custom-clothing QC mistakes
Inspecting only at the end
A final inspection is important, but it cannot efficiently correct every earlier decision. Use checkpoints before cutting, during construction and before finishing.
Using unclear reference images
A collection of inspiration images can contain conflicting details. Convert the references into one approved garment specification.
Mixing body and garment measurements
Clearly label whether a number refers to the customer's body or the finished garment.
Approving poor-quality progress photos
Evidence should allow a real assessment. Request full views, consistent angles and close-ups of important details.
Allowing undocumented substitutions
A substitute zip, lining, fabric or embellishment may appear minor to the maker but significant to the customer. Record and approve material changes.
Treating quality as purely technical
A garment can be technically wearable and still fail to match the approved design. Quality includes workmanship, fit, function and alignment with expectations.
Shipping before a final independent check
Where possible, have someone other than the primary maker complete the final inspection. A second person may notice issues that became invisible to someone who worked closely on the garment.
Building a repeatable proof-of-make process
Spreadsheets, messages and shared folders can support a small number of orders, but the process becomes difficult to manage as production grows.
Evidence may be stored in different conversations. The latest measurement update may be difficult to locate. A progress photograph may not be connected to the decision it was intended to verify.
A proof-of-make system gives each garment its own organised production record. That record can include:
- The approved specification
- Measurements
- Materials
- Production stages
- Evidence submissions
- Approval decisions
- Changes
- Final inspection
- Shipping information
MadeApt is building a proof-of-make platform for custom clothing: a per-garment evidence trail designed to help studios, designers and makers verify work stage by stage before it ships.
Instead of treating custom production like a conventional batch, MadeApt treats every garment as its own order, with its own specifications, evidence and quality-control decisions.
Test the checklist on one real garment
The easiest way to improve a quality-control process is not to redesign the entire business at once. Choose one upcoming garment and document:
- 1What was approved
- 2What must be checked
- 3What evidence is required
- 4Who approves each stage
- 5What must happen before shipping
After the order is complete, review where information was missing, which problems were caught and which checks created unnecessary work.
The goal is not to make custom fashion slower.
The goal is to prevent avoidable mistakes, reduce uncertainty and ensure that every garment is reviewed with the level of care that a batch of one requires.
Frequently asked questions
Producing bridalwear, costumes or custom clothing?
MadeApt is inviting a small number of studios and makers to test its per-garment proof-of-make workflow using a real order. Document specifications, collect production evidence and catch problems before the garment ships.
Apply for the founding-studio pilot