how to work with overseas tailors without getting burned
a quality verification playbook
The short answer
The safest way to work with overseas tailors is to replace trust with evidence: vet the maker before you brief them, brief them with a proper tech pack, stage your payments against milestones, and require photo verification at each production stage before money moves.
This is called an evidence-gated workflow, and it is how experienced labels and studios avoid the two most common disasters in offshore custom garment work — garments that arrive wrong, and deposits that disappear.
This playbook covers each step, including the G0–G5 evidence gate framework we use at MadeApt to verify every garment across our tailor network in Bosnia, Vietnam, and Australia.
Why do overseas tailor projects go wrong?
Most overseas tailoring failures come down to three causes: ambiguous briefs, unverified progress, and payment structures that remove all leverage before the work is checked.
In practice, that looks like:
The brief was a vibe, not a spec.
“Like this Pinterest photo but longer” is not a brief. The tailor interprets, you receive their interpretation, and the gap between the two is your problem — usually discovered after shipping, when it is too late and too expensive to fix.
Progress was invisible.
You paid a deposit, then heard nothing for five weeks. Was fabric even purchased? Is the garment cut? You have no idea, so you cannot catch a fit issue at the toile stage — when it costs one photo and one message to fix — instead of at delivery, when it costs a remake.
Payment gave away all leverage upfront.
A 100% upfront payment means the maker has no financial reason to prioritise your revisions. A 50/50 split with the balance due “on completion” is barely better if you have no way to verify completion before paying.
None of these are really about the tailor’s skill or honesty. Excellent, honest makers get blamed for failures that were built into the process. The fix is process, not luck.
How do you vet an overseas tailor before committing?
Vet an overseas tailor by verifying three things: evidence of past work on garments like yours, willingness to follow a staged photo-verification process, and clear communication before any money changes hands.
Ask for category-specific work
A tailor who does beautiful suiting may struggle with corsetry or stretch performance wear. Ask for photos of previous garments in your category — including construction shots (inside seams, boning channels, linings), not just glamour shots. Finished-garment photos are easy to borrow; in-progress photos are hard to fake.
Run a paid sample first
Never open with a 12-piece order. Commission one paid sample garment and treat the process as the audit: How did they handle questions? Did they flag ambiguities in your spec or silently guess? Did they send progress photos without being chased? The sample tells you more than any portfolio.
Test the communication loop
Before committing, send a small technical question — “what seam finish would you use on this fabric?” — and watch what comes back. Response time, specificity, and honesty about limitations (“I don’t work with latex”) are the strongest predictors of how production will go.
Confirm they’ll accept evidence gates
A professional maker will happily photograph fabric, cut pieces, and construction stages — many already do it for their own records. A maker who resists any verification step is telling you something. Believe them.
What should you include in a brief for an overseas tailor?
A brief for an overseas tailor should be a tech pack: flat sketches, measurements with tolerances, fabric and trim specifications, construction notes, and reference photos annotated with what specifically you’re referencing.
At minimum:
- Flat sketch or technical drawing (front and back) — even a clean hand drawing beats prose
- Full measurement chart with tolerances (e.g. waist 74 cm ± 1 cm), and state whether measurements are body measurements or garment measurements — this single ambiguity causes an enormous share of fit failures
- Fabric spec: composition, weight (gsm), stretch percentage, and who is sourcing it
- Construction notes: seam finishes, closures, lining, interfacing, hem depth
- Annotated reference photos: circle the neckline you mean; if you attach a photo for the sleeve, say sleeve only so the tailor doesn’t also copy the bodice
- Deadline with buffer, working backwards from your true need date, minus shipping, minus at least one revision round
You don’t have to build this from scratch — our free tech pack template covers all five sections, including the evidence gate tracker below.
Language tip for cross-border work: write in short sentences, one instruction per line, and avoid idiom. “The bodice should be snug but not restrictive” translates poorly; “bodice: negative ease 2 cm at bust” doesn’t.
How should you structure payments with an overseas tailor?
Structure payments so that money moves only after evidence: a deposit at commitment, a mid-payment after construction is photo-verified, and the balance after you’ve verified the finished garment — before shipping, not after.
A structure that protects both sides:
Commitment
30–40% deposit
Verify first
Signed-off spec and timeline
Mid-production
30–40%
Verify first
Photos of cut fabric and construction progress
Pre-shipping
Balance
Verify first
Photos/video of the finished garment on a form, measured against spec
This isn’t about distrusting the maker — good tailors benefit too, because staged payments protect them from clients who ghost after the fabric is cut. Frame it that way and professionals will agree readily.
Avoid untraceable payment methods for first engagements. Platform payments, PayPal goods-and-services, or documented bank transfer give you a paper trail; “friends and family” transfers give you nothing.
What is the G0–G5 evidence gate framework?
The G0–G5 evidence gate framework is a per-garment quality control system in which each production stage becomes a “gate” that must be passed with photographic evidence before the garment progresses to the next stage. Instead of trusting a single final inspection, quality is verified six times, at the six points where problems are cheapest to fix.
Spec lock
The brief, measurements, fabric, and timeline are confirmed in writing by both sides. Nothing is cut until G0 passes. Most disputes trace back to a G0 that never happened.
Materials verified
The tailor photographs the actual fabric and trims — ideally with a swatch shot showing weave/stretch, and a label or receipt where relevant. Catches substitutions before scissors touch anything.
Cut confirmed
Photos of cut pieces laid out. Confirms grain direction, pattern matching, and that the right fabric became the right pieces.
Construction checkpoint
Progress photos at the half-built stage: seams, structure, closures, insides. This is where a toile or first fitting sits for fitted garments — and where a fit issue costs one adjustment instead of a remake.
Finished garment verification
The completed garment photographed on a dress form or flat with a measuring tape at key points, checked against the G0 spec. The balance payment releases only after G4 passes.
Delivery confirmation
The client receives the garment and confirms it matches the G4 evidence. Any transit damage or discrepancy is caught immediately, with a full photo trail establishing exactly what shipped.
Every gate converts a potential dispute into a checkpoint. When a garment fails at G3, that’s not a crisis — that’s the system working.
The alternative is discovering the same problem at delivery, with no leverage, no timeline, and no evidence of where things went wrong.
At MadeApt, every commission runs through these gates, and the evidence is visible to the client in real time — so “how’s my dress going?” is answered by photos, not reassurances. For the stage-by-stage detail behind the gates, see how quality control works for custom-made clothing.
What photo evidence should you actually require?
Require photos that would let a stranger verify the claim: fabric shots with visible texture and a scale reference, cut pieces laid flat, construction shots including the inside of the garment, and finished-garment shots with a tape measure at the key measurement points.
Practical standards to send your tailor:
If a photo doesn’t answer “does this match the spec?”, it’s a nice photo, not evidence.
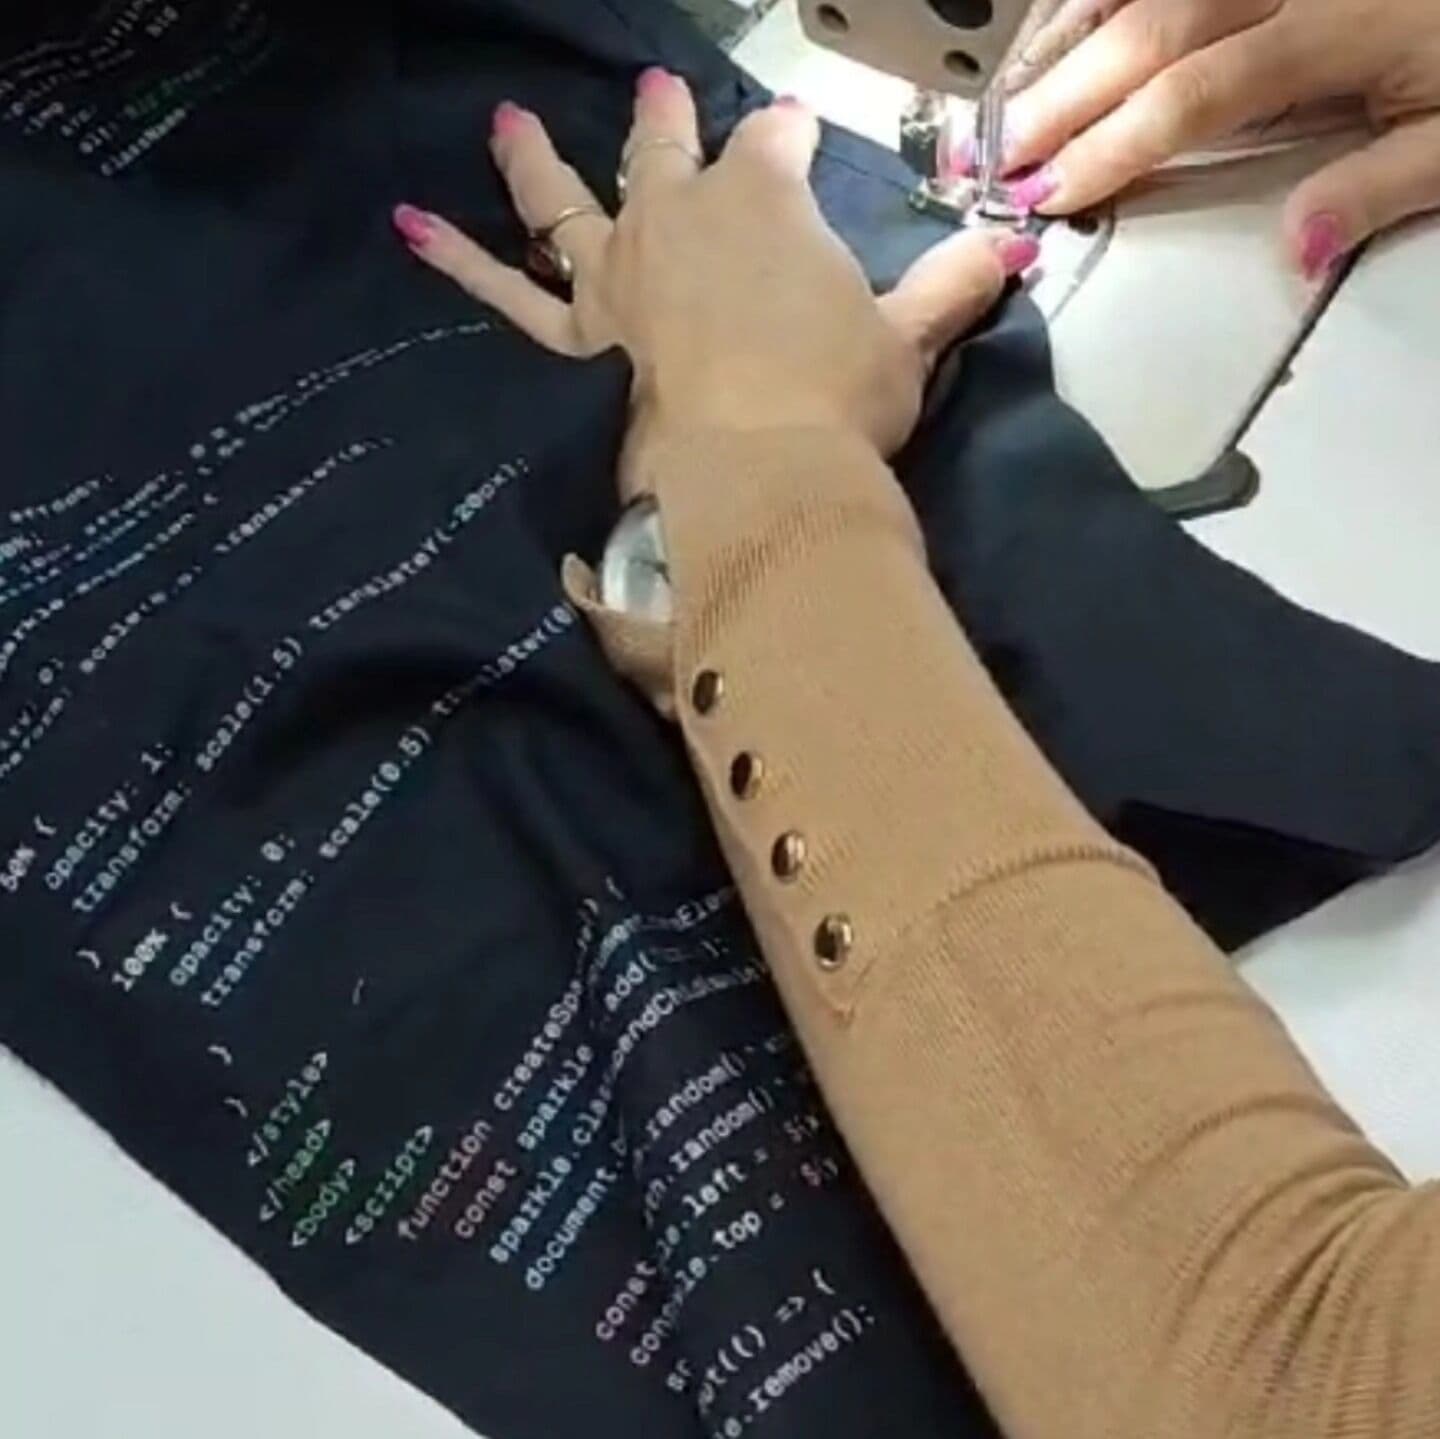
Evidence, not reassurance
What do you do when something goes wrong anyway?
When a gate fails, pause payment, document the discrepancy against the locked G0 spec, and agree on a correction plan in writing before production continues.
Because the spec was locked and every prior stage has evidence, the conversation is factual rather than emotional: “G4 shows waist at 78 cm; spec says 74 ± 1. What’s the fix?”
Escalation ladder:
Discrepancy against spec
Identify which gate it entered at, agree a correction and revised timeline in writing.
Repeated missed gates or silence
Set one clear deadline for the next gate; if it passes without evidence, stop payments and invoke your dispute path (platform mediation, payment provider dispute, or chargeback window — which is why traceable payments matter).
Genuine loss
Your evidence trail is exactly what payment providers and platforms ask for in a dispute. A G0 spec plus timestamped photos is the difference between “he said, she said” and a resolved claim.
And keep perspective: the vast majority of overseas makers are skilled professionals whose livelihoods depend on repeat clients. An evidence-gated process doesn’t just protect you from the rare bad actor — it makes you a better client for the good ones, because your briefs are clear, your payments are predictable, and your feedback arrives while it can still be acted on.
Frequently asked questions
MadeApt is a made-to-measure platform connecting clients with vetted artisan tailors in Bosnia, Vietnam, and Australia, with per-garment QC evidence gates (G0–G5) built into every commission — photo-verified at each stage and visible to the client in real time.
git commit -m "trust, replaced with evidence"
Commission with the gates already built in.
Every MadeApt commission runs through the G0–G5 evidence gates with a vetted maker — spec locked, photo-verified at each stage, and visible to you in real time. Producing your own range? A small number of studios can test the workflow on a real order.